To safely disconnect and replace your car battery, start by gathering essential tools: safety goggles, gloves, and a socket wrench. Always disconnect the negative terminal first to prevent sparks, then remove the positive terminal. Clean the battery tray, then position the new battery correctly. Reconnect the positive terminal first, followed by the negative, ensuring all connections are tight. Check for signs of corrosion regularly. For further detailed steps and troubleshooting tips, more information awaits.
Key Takeaways
- Always wear safety goggles and gloves to protect against battery acid and electrical shocks during the replacement process.
- Disconnect the negative terminal first to prevent short circuits, followed by the positive terminal.
- Secure the new battery in the tray, ensuring terminals are accessible for proper installation.
- Reconnect the terminals by attaching the positive first, then the negative, tightening securely to ensure good contact.
- Regularly inspect and clean battery connections to prevent corrosion and ensure optimal performance.
Understanding the Importance of Car Battery Maintenance
When you neglect car battery maintenance, you risk not just the battery’s lifespan but also your vehicle’s overall performance. Regularly checking and maintaining your battery can extend its life and prevent unexpected failures.
To guarantee peak functionality, you should clean the terminals, which prevents corrosion and enhances electrical connections. It’s also crucial to monitor your battery’s age; most batteries last between three to five years, after which you may need a battery replacement.
Conduct routine checks on charge and voltage to catch potential issues early. Additionally, secure your battery in its tray to minimize vibrations that could damage internal components.
Finally, when it’s time for a battery replacement, remember the importance of proper disposal. Recycling old batteries is necessary, as they contain hazardous materials that can harm the environment.
Prioritizing these maintenance tasks leads to a more efficient and reliable vehicle.
Essential Tools for a Safe Battery Replacement
Replacing a car battery requires not just knowledge but also the right tools to guarantee safety and efficiency.
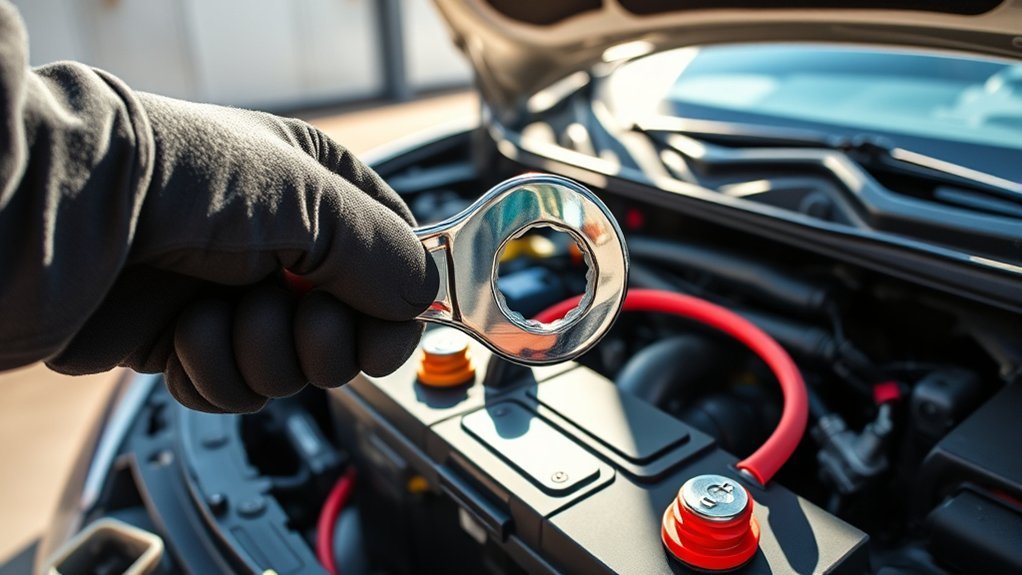
Start by equipping yourself with safety goggles and gloves; these are essential for protecting against battery acid and electrical shocks. You’ll need a socket wrench to remove and secure the battery terminals effectively, ensuring a tight connection.
A carbon wire brush is vital for cleaning corroded terminals, promoting good conductivity and preventing future issues. Additionally, have a cleaning solution made of baking soda mixed with water on hand to neutralize any residual battery acid.
Finally, a voltmeter or multimeter will help you check the battery’s charge level both before and after installation, ensuring it functions correctly.
With these tools, you can confidently undertake a battery replacement, empowering yourself with the skills and safety measures necessary for this essential maintenance task.
Safety First: Guidelines Before Battery Replacement
Before you immerse yourself in replacing your car battery, it’s essential to guarantee a safe working environment.
Begin by parking your vehicle on a flat surface and engaging the parking brake to prevent any unwanted movement during the process. Make sure the engine is completely cool and turned off for several minutes to avoid burns or electrical shocks.
Ensure your vehicle is parked on a flat surface with the parking brake engaged, and let the engine cool completely before starting.
Equip yourself with safety goggles and gloves to protect against potential battery acid spills and electrical hazards. This simple step notably reduces your risk of injury.
Additionally, refrain from smoking or working near open flames, as batteries can emit flammable hydrogen gas.
Lastly, double-check that you have all necessary tools and supplies ready before starting the replacement. This preparation minimizes the time spent working with the battery and enhances your safety.
Following these guidelines will help guarantee a smooth, secure battery replacement experience.
How Do You Identify Your Car Battery and Its Terminals?
Identifying your car battery and its terminals is a key step in the maintenance process.
Start by locating the battery, which is usually under the hood but may be in the trunk for some foreign models. Consult your owner’s manual for specific locations.
Once you’ve found the battery, look for the positive and negative terminals. The positive terminal typically has a red cover and a plus sign (+), while the negative terminal is marked with a minus sign (-) and often lacks color or has a black cover.
Check the battery label for specifications like voltage, size, and type to guarantee compatibility with replacements.
If there are any components attached, such as a battery hold-down clamp, you’ll need to remove them before accessing the terminals.
Disconnecting Your Battery: The Right Sequence
When disconnecting your car battery, it’s essential to follow the right sequence for safety.
Always start by removing the negative terminal first to avoid electrical shorts.
After the negative is off, you can safely disconnect the positive terminal.
Negative Terminal First
Why is it vital to disconnect the negative terminal first when working on your car battery? Disconnecting the negative terminal first helps prevent short-circuiting and protects your vehicle’s electrical system.
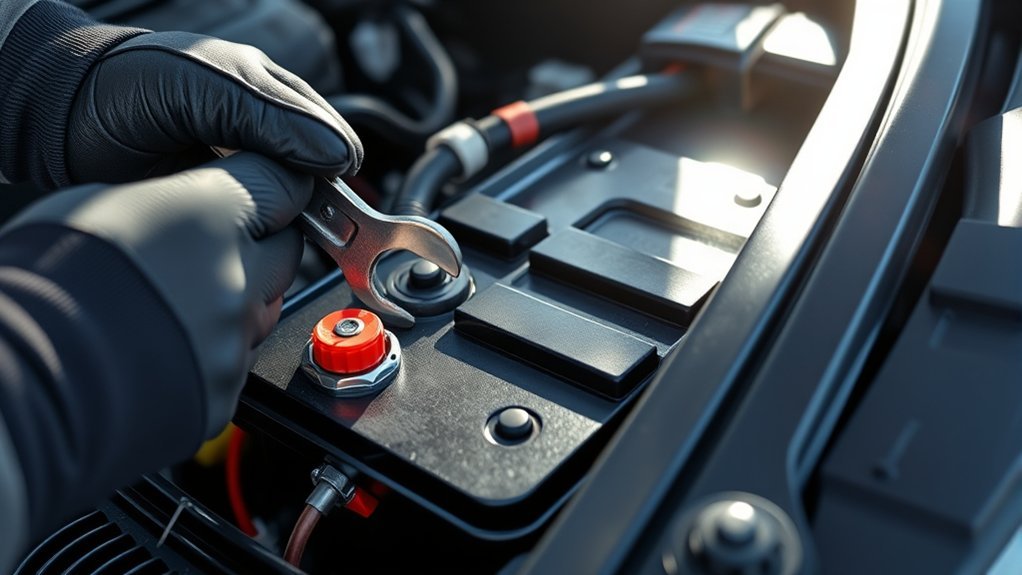
Start by using a socket wrench to loosen the nut on the negative terminal, then carefully remove it from the battery post. This step is essential because it eliminates the risk of accidental contact with any metal surfaces, which could lead to dangerous sparks.
Once the negative terminal is safely disconnected, you can move on to disconnect the positive terminal in the same manner. Following this sequence not only guarantees your safety but also maintains the integrity of your car’s electrical components during maintenance.
Positive Terminal Last
After safely disconnecting the negative terminal, it’s time to focus on the positive terminal. Follow these steps to guarantee a safe disconnection:
- Use the Right Tools: Grab a socket wrench to avoid damaging the terminals.
- Disconnect the Positive Terminal: Loosen the clamp and remove it carefully.
- Minimize Risks: Ascertain no tools touch the car frame to prevent sparks.
- Reconnect in Order: When installing the new battery, connect the positive terminal first, then the negative terminal last.
Tips for Safe Handling When Removing the Old Battery
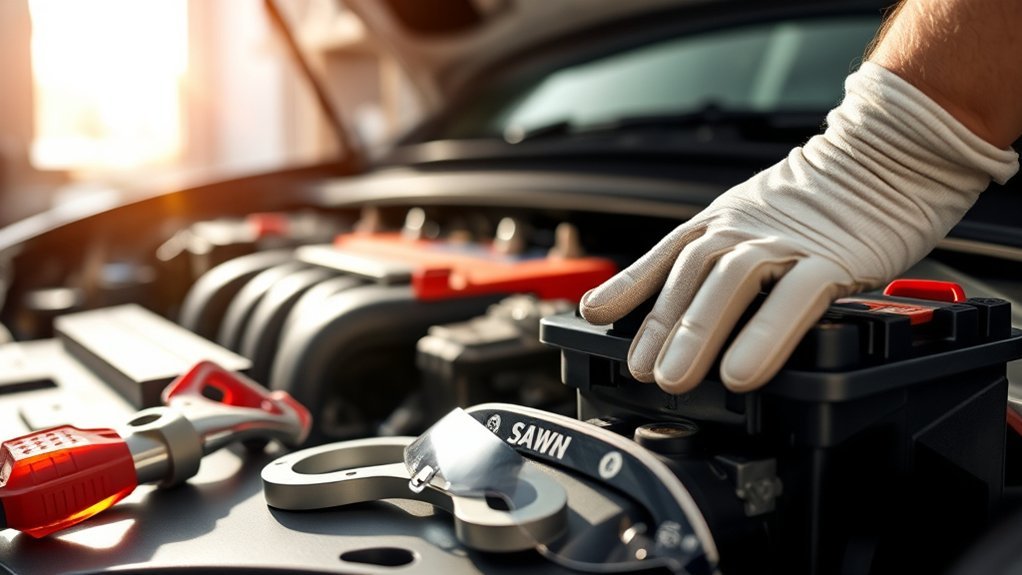
When removing the old battery, it’s essential to wear safety goggles and gloves to protect against battery acid and potential sparks.
Handle the battery carefully, using a socket wrench to loosen terminals without excessive force.
Always disconnect the negative terminal first to minimize the risk of electrical short-circuiting.
Wear Protective Gear
To guarantee your safety during the battery replacement process, it’s crucial to wear the appropriate protective gear.
Here are some key items you’ll need:
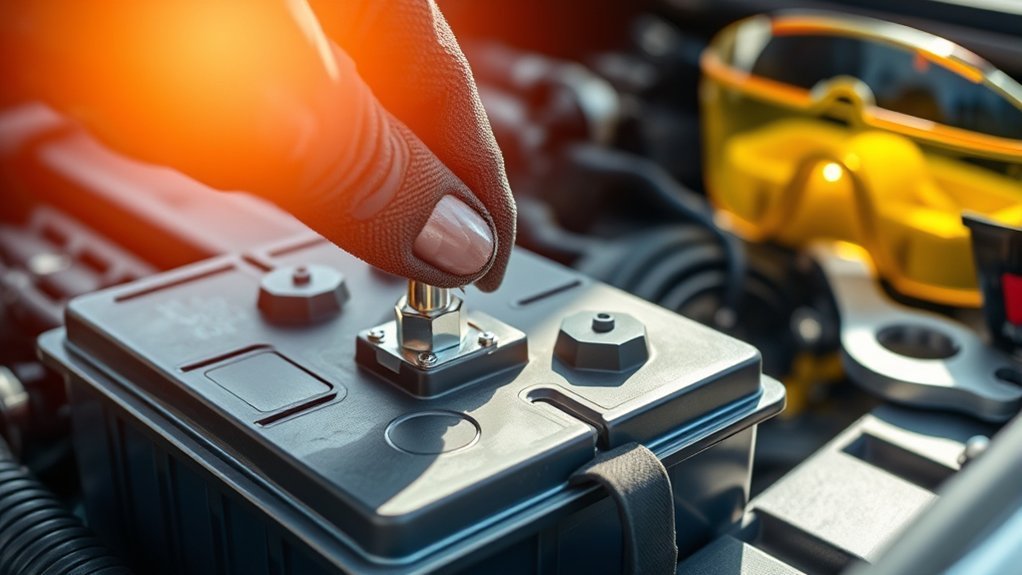
- Safety goggles: Protect your eyes from battery acid and corrosion.
- Gloves: Wear gloves to shield your skin from harmful substances.
- Insulated tools: Use them to prevent accidental short-circuiting when working with battery terminals.
- Fire extinguisher: Keep one nearby to tackle any potential fires caused by hydrogen gas emissions.
Handle Battery Carefully
Handling a car battery requires careful attention to confirm safety and prevent damage. Always wear safety gloves and goggles to protect yourself from potential acid spills and electrical shock.
Before you begin, verify the vehicle is off and the keys are removed from the ignition to avoid accidental starting.
When you’re ready to disconnect the battery, start by disconnecting the negative terminal first; this minimizes the risk of a short circuit.
After that, carefully lift the battery using the designated handle or by gripping the sides, as batteries can be heavy and contain corrosive materials.
Finally, dispose of the old battery properly at recycling centers or return it to retailers like AutoZone for safe handling of hazardous materials.
Cleaning the Battery Tray: Why and How
Cleaning the battery tray is crucial for maintaining your vehicle’s battery performance and longevity, as corrosion and debris can greatly hinder its efficiency.
A clean battery tray not only enhances performance but also prevents moisture accumulation, a major cause of terminal corrosion.
Here’s how to clean the battery tray effectively:
- Prepare a Solution: Mix baking soda and water to create a neutralizing paste.
- Apply the Mixture: Use a brush to scrub the battery tray, focusing on areas with corrosion or grime.
- Inspect for Damage: While cleaning, check for rust or deterioration that could compromise battery stability.
- Dry Thoroughly: Verify the tray is completely dry and free of residue before installing the new battery.
Step-by-Step Instructions for Installing the New Battery
Once you’ve prepared the battery tray, installing your new battery is a straightforward process that requires attention to detail.
Start by placing the new battery in the tray, making sure it’s oriented correctly for easy access to the battery terminals.
Place the new battery in the tray, ensuring it’s oriented for easy access to the terminals.
First, reconnect the positive terminal. Slide it onto the battery post and tighten the nut securely with a wrench; this guarantees a solid connection.
Next, attach the negative terminal in the same manner, making sure it fits tightly to prevent any electrical issues.
Once both terminals are connected, secure the new battery in place with the hold-down clamp to prevent movement during operation.
Finally, double-check all connections for tightness.
To confirm proper installation and functionality, test the battery with a voltmeter. This step guarantees your vehicle’s electrical system will operate smoothly, providing you with the freedom of reliable transportation.
Securing Battery Connections
After securing your new battery in place, the next step focuses on the importance of properly securing battery connections. This process is essential for guaranteeing the performance and longevity of your battery.
Follow these steps to secure your connections effectively:
- Connect the positive terminal first: This prevents short-circuiting and guarantees proper power flow.
- Tighten connections: Make sure the battery terminal connections are tight to avoid electrical resistance that can drain your battery.
- Apply dielectric grease: After securing the connections, use dielectric grease on the terminals to provide a moisture barrier and prevent corrosion.
- Inspect and clean regularly: Regularly check and clean battery terminals to maintain ideal contact and extend your battery’s life.
Troubleshooting Common Issues Post-Battery Replacement
After replacing your car battery, start by checking the terminal connections to verify they’re tight and free of corrosion, as this can prevent proper electrical flow.
If your vehicle still doesn’t start, inspect the alternator’s functionality, as it may not be charging the new battery effectively.
Addressing these issues promptly can help you avoid further complications.
Check Terminal Connections
Checking terminal connections is essential for ensuring your newly installed car battery operates smoothly. Here’s what you need to do:
- Connect the positive terminal first, ensuring it’s tight.
- Attach the negative terminal next to prevent electrical issues.
- Inspect for corrosion or loose connections by visually checking the terminals and gently wiggling the cables.
- Test the battery voltage with a voltmeter; it should read around 12.6 volts when fully charged.
If your car doesn’t start, recheck the terminal connections. They might be improperly attached or need to be cleaned.
Keeping your connections secure and free of corrosion is key to a reliable battery performance.
Inspect Alternator Functionality
To guarantee your vehicle runs smoothly following a battery replacement, inspecting the alternator’s functionality is essential.
Start by measuring the voltage output with a multimeter; it should read between 13.8 to 14.4 volts when the engine is running. If the battery light on your dashboard remains illuminated, this might indicate the alternator isn’t charging the battery properly.
Next, inspect the alternator belt for signs of wear or looseness, as a slipping or damaged belt can hinder efficient charging. Also, listen for any unusual noises like grinding or squealing, which may suggest internal issues.
If problems persist, don’t hesitate to visit an auto parts store for free diagnostic services to confirm your vehicle’s electrical system is in top shape.
Frequently Asked Questions
How to Safely Remove and Replace a Car Battery?
To safely remove and replace a car battery, gather tools like wrenches, wear safety gear, identify battery types, disconnect terminals correctly, clean terminals, and dispose of the old battery responsibly at a recycling facility.
How to Not Get Electrocuted When Changing a Car Battery?
To avoid electrocution changing a car battery, follow safety precautions: wear personal protective gear, disconnect the negative terminal first, handle different battery types carefully, and guarantee proper electrostatic discharge to prevent accidents.
Which Battery Terminal Do You Disconnect First?
You might think it’s complicated, but it’s simple! Always disconnect the negative terminal first for safety. Use your battery tools to remove the positive terminal afterward, ensuring you follow safety precautions for a smooth process.
What Not to Do When Disconnecting a Car Battery?
Don’t make common mistakes like disconnecting the positive terminal first or ignoring battery safety. Avoid using improper tools, neglecting terminal cleaning, and mishandling battery disposal to guarantee a safe and efficient replacement process.
Conclusion
By following these steps, you can safely disconnect and replace your car battery, ensuring your vehicle runs smoothly. For instance, a driver named Sarah faced frequent starting issues due to a corroded battery. After learning to replace it herself, she saved money and gained confidence. Remember, proper maintenance not only extends your battery’s life but also enhances your vehicle’s overall performance. Stay proactive, and your car will thank you with reliable starts every time.


Leave a Reply