To draw a realistic car, start by mastering proportions using a box shape as your foundation. Outline the car’s structure with a horizontal line for the front and angled lines for a sleek design. Nail wheel placement by ensuring symmetry and correct sizing. Finalize details like headlights and windows, then add shading for depth. Regularly assess your work for proportion and alignment. Keep practicing these techniques, and you’ll discover advanced skills to elevate your car drawing!
Key Takeaways
- Start by sketching a basic box shape to lay the foundation for your car’s proportions and structure.
- Outline the car’s silhouette by establishing a horizontal front line and creating angled lines for a sleek design.
- Ensure proper wheel placement by maintaining symmetry and using a 1.2:1 ratio for front and rear wheel sizes.
- Add details such as headlights and windows, ensuring they are proportionate and aligned for realism.
- Apply shading techniques for depth, highlights for light reflection, and darken lines for clarity in your final drawing.
Mastering Basic Drawing Proportions Before Car Design
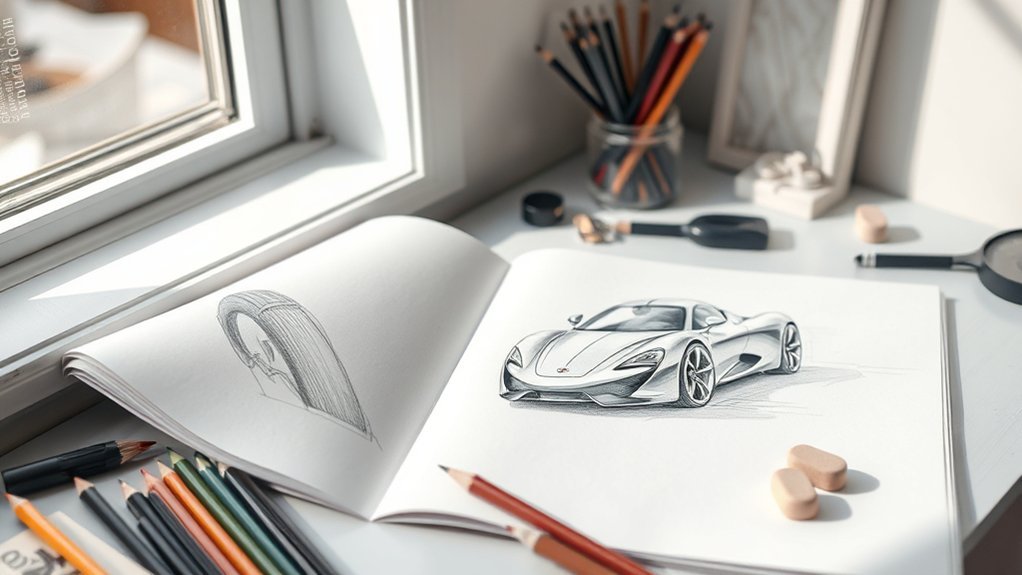
Before diving into car design, it’s essential to master the basic drawing proportions that will serve as the backbone of your artwork. Start by sketching a box that mimics the overall shape and size of a matchbox, providing a solid foundation.
Next, draw a vertical line at one corner of the box to define the nearest edge of your car. This line helps guarantee accurate placement in your composition. Extend lines from this vertical line to create the left and right sides, maintaining consistent proportions as you outline the vehicle’s basic structure.
To further refine your design, divide the box into smaller shapes like rectangles or triangles, focusing on detailing the roof and passenger area. Regularly compare the dimensions of your drawn shapes to make certain they remain proportionate and realistic, especially around the top part of the vehicle.
This attention to detail will elevate your drawing skills and liberate your artistic expression.
Shaping the Car Structure: Outlining the Body
Shaping the car’s structure is essential in creating a realistic and dynamic representation. To outline the body effectively, follow these steps:
- Draw a horizontal line to establish the front of the car below the top line, aligning it with your desired perspective.
- Create angled lines at both ends of this line to shape the front, guaranteeing a sleek, dynamic appearance.
- Establish a baseline for the windshield by drawing a line that smoothly connects to the front, shaping the hood area.
- Outline the passenger area and roof curve by sketching the overall silhouette, focusing on the vehicle’s distinctive shape.
Make certain you pay attention to proportions as you refine these outlines.
Next time you sketch, verify the body flows naturally, maintaining that realistic appearance.
With practice, your skills will liberate your creativity, bringing your automotive visions to life!
Nailing Wheel Placement: Size and Position Matters
Although wheel placement might seem like a minor detail, it’s crucial for achieving a realistic car drawing. Start by drawing a parallel baseline that aligns with the bottom of your car body to guarantee proper height and positioning.
Next, establish vertical center lines for each wheel; this will help maintain symmetry and balance throughout your design. Remember, the front wheels should be larger than the rear, typically following a wheel ratio of about 1.2:1.
Utilize ellipse techniques to render the wheels, adjusting their width and length according to the car’s perspective. This will enhance the authenticity of your drawing.
As you work, conduct symmetry checks to verify that each wheel complements the overall dimensions of the car. By focusing on these details, you’ll elevate your artwork, creating a strikingly realistic representation that captivates and inspires.
Finalizing Details and Adding Shading Techniques
As you move toward finalizing your car drawing, paying close attention to the details can greatly enhance its realism. Here are some steps to take into account for perfecting your work:
- Verify all details, like headlights and windows, are proportionate and aligned with the car’s design for cohesion.
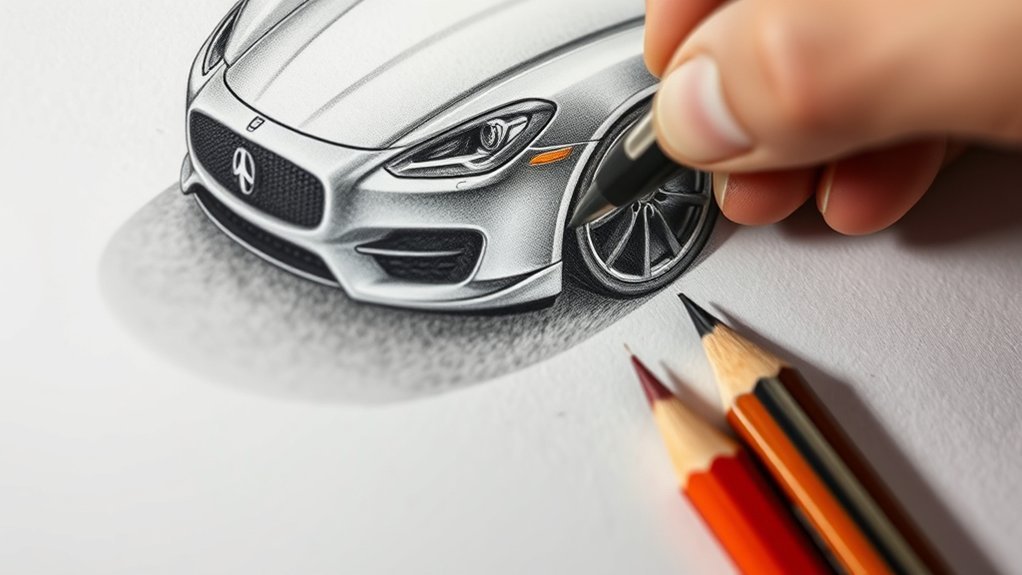
- Apply shading techniques to the hood and sides using a gradient approach, creating depth and emphasizing curves.
- Use your light source to determine highlights placement, enhancing the three-dimensional effect and defining shadowed areas.
- Add reflections on the windows and body to mimic realistic surfaces, bringing your car to life.
Once you’re satisfied with the details and shading, darken the final line definition. This will enhance clarity and make your drawing pop, showcasing your artistic prowess.
Let your creativity flow, and watch as your sketch transforms into a stunning representation of automotive beauty!
Essential Techniques to Enhance Your Car Drawing Skills
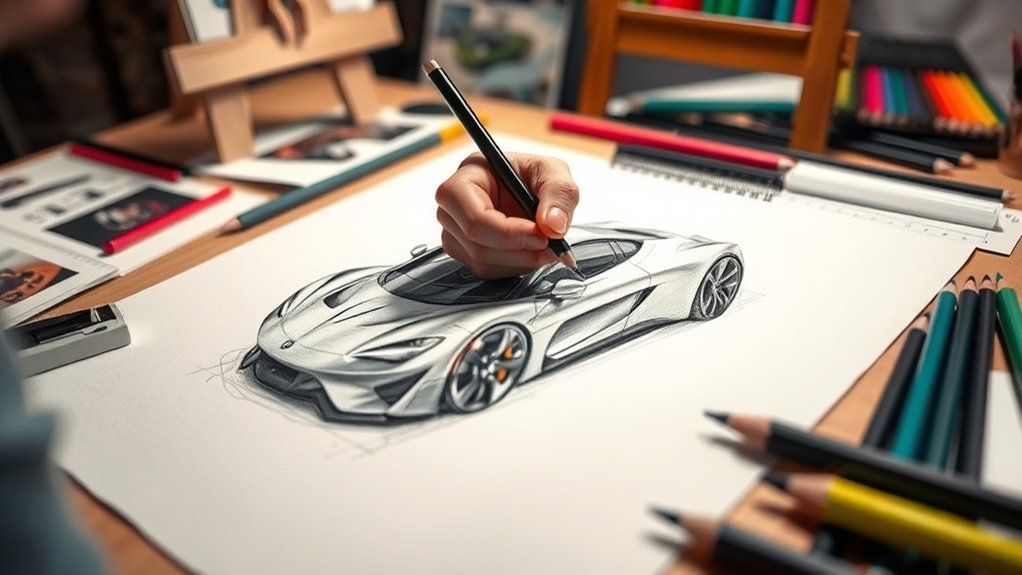
To elevate your car drawing skills, it’s essential to start with a solid understanding of proportions and structure. Begin by using a box to define the overall shape, ensuring accuracy in your proportions. Focus on outlining the car’s framework, paying attention to the angles of the front, windshield, and passenger area. This groundwork is key to mastering proportion tips.
Next, refine your design by practicing wheel placement; draw ellipses and establish center lines for alignment. Shift straight lines into curves for a more organic look.
Now, enhance your work with shading methods—use varied pressure to create depth, making each detail pop.
Incorporate car design techniques such as highlighting the contours and adding reflections to the windows. With practice, these techniques won’t just improve your car drawings but also liberate your creative expression, allowing your artistic vision to shine through.
Engaging With the Community: Sharing Your Art
Once you’ve honed your car drawing skills, sharing your art can open up a world of opportunities for growth and connection. Engaging with the art community not only enhances your creativity but also enriches your artistic journey.
Here are some ways to share your work:
- Utilize social media: Post your car drawings to connect with other artists and receive valuable art critiques.
- Join online art forums: Interact with fellow creators, ask for community feedback, and share your progress.
- Participate in art challenges: Boost your visibility and challenge yourself, pushing your skills further while engaging with others.
- Foster engagement: Share your artistic process and provide feedback to fellow artists to cultivate a supportive network.
Troubleshooting Common Car Drawing Challenges
When you’re facing issues with proportions and symmetry in your car drawing, it’s essential to revisit your initial box structure to guarantee everything aligns.
If uneven wheel placement is throwing off your design, check their center lines and adjust accordingly for balance.
And when details start to overwhelm, break them into smaller shapes to maintain control and enhance your drawing’s realism.
Proportions and Symmetry Issues
While drawing a car, maintaining proper proportions and symmetry is essential to achieving a realistic appearance. Use these techniques to enhance your art:
- Proportional Drawing Techniques: Begin with a matchbox-shaped box to establish the car’s overall dimensions.
- Symmetry Balance Methods: Draw vertical lines to guarantee both sides mirror each other perfectly.
- Perspective Alignment Tips: Pay careful attention to the angles of the front and windshield, avoiding skewed perspectives.
- Regular Checks: Step back regularly to compare sections of your drawing, confirming all elements align harmoniously.
Wheel Alignment Problems
Achieving realistic wheel alignment is a significant aspect of drawing a car that often presents challenges. Start with a baseline parallel to the car’s body for accurate wheel alignment adjustments.
Remember to create wheel shape variations, ensuring the front wheels appear larger than the rear. Use vertical lines to define each wheel’s center; this maintains symmetry and helps with alignment visual checks.
If your wheels look misaligned, double-check the distance from the car body to each wheel. Adjust the ellipses accordingly to achieve a natural appearance.
Finally, make sure the wheel width aligns with the front and rear baselines to avoid any disproportionate effects. With practice, these adjustments will free your artistic expression, leading to more realistic car drawings.
Detail Overload Challenges
As you immerse yourself in the intricate world of car drawing, it’s easy to feel overwhelmed by the abundance of details that demand your attention. To conquer this challenge, employ these effective detail management strategies:
- Simplifying Complex Shapes: Break down the car’s form into basic geometric shapes to maintain proportion and clarity.
- Light Sketching: Use soft lines initially, allowing for flexibility and easier corrections before committing to heavy details.
- Feature Placement: Pay close attention to the alignment of headlights and other features, as misplacement can disrupt balance.
- Step Back: Regularly distance yourself from the drawing to assess the overall structure and identify areas needing refinement.
These overcoming overwhelm techniques will free your creative spirit and enhance your drawing experience.
Frequently Asked Questions
How to Draw Realistic Cars Step by Step?
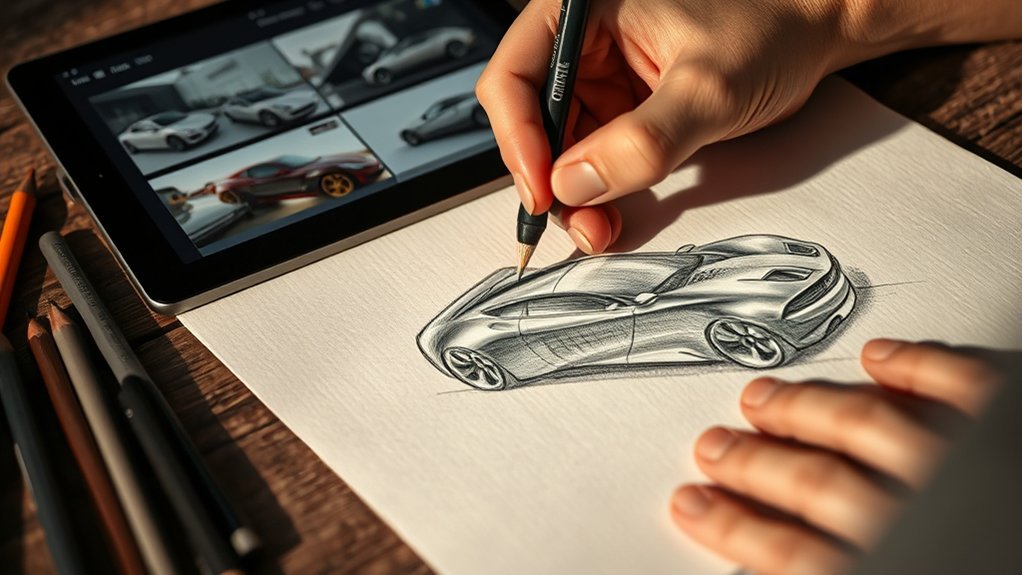
To draw realistic cars, you’ll use car design techniques like establishing proportions, apply shading methods for depth, and master perspective drawing to create lifelike dimensions. Practice consistently, and don’t hesitate to seek feedback for improvement!
What Is the Easiest Car to Draw?
The easiest car to draw is a coupe or sedan. Using simple car designs, you can apply beginner drawing techniques like basic shapes tutorial, starting with rectangles and circles for an accessible and enjoyable experience.
How to Do Realistic Drawing Step by Step?
Think of your drawing as a dance, each step deliberate. Start with proportion basics, embrace perspective drawing, and master shading techniques. Layer details gradually, allowing your artwork to breathe and come alive in vibrant harmony.
How to Draw a Realistic Sketch Step by Step?
To draw a realistic sketch step by step, utilize effective drawing techniques, apply shading methods for depth, and follow sketching tips that emphasize proportions and details. Experiment freely; let your creativity guide you throughout the process.
Conclusion
Now that you’ve navigated the twists and turns of car drawing, remember: practice makes perfect. Like a finely tuned engine, your skills will improve with time and dedication. Don’t shy away from sharing your creations—community feedback can be the fuel that drives your growth. Embrace each challenge as an opportunity to refine your technique, and soon, your drawings will zip off the page with lifelike precision. Keep sketching, and let your passion for cars shine through!


Leave a Reply