Building a Tesla coil creates high-voltage electrical displays through magnetic resonance. This project requires specialized electrical components, a firm understanding of circuit safety, and careful assembly to achieve consistent results.
Quick Answer
To build a basic Tesla coil, assemble a circuit featuring a high-voltage transformer, a capacitor bank, a spark gap, and two tuned coils. You must mount these on an insulated base and establish a robust earth ground to ensure safe operation. Always prioritize electrical safety, as the high-voltage output poses a significant risk of severe injury.
Key Takeaways
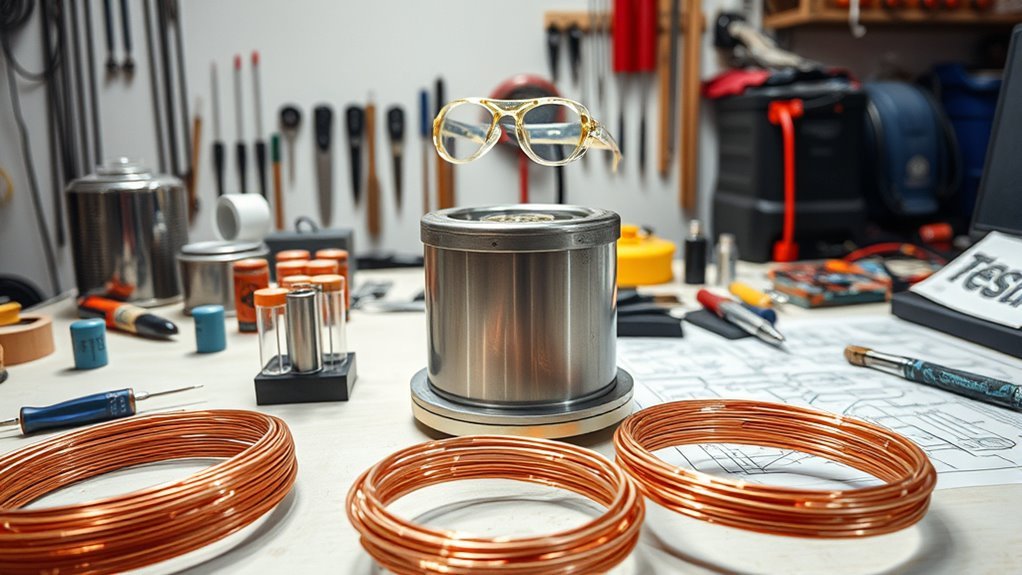
- Collect a Neon Sign Transformer, enameled copper wire, high-voltage capacitors, and PVC piping.
- Wind the secondary coil around a PVC form to create the necessary inductance for resonance.
- Construct a capacitor bank using polypropylene capacitors to store and release energy.
- Mount the entire assembly on a non-conductive base to ensure proper electrical isolation.
- Operate the device outdoors while using strict safety protocols to prevent shocks.
Understanding Tesla Coil Principles
A Tesla coil functions as a resonant air-core transformer. It transforms low-current, high-voltage electricity into high-frequency pulses that create electrical arcs.
The system relies on the primary and secondary coils sharing a resonant frequency. The spark gap acts as a mechanical switch, dumping the energy stored in the capacitors into the primary coil. This rapid discharge creates a powerful, oscillating magnetic field that induces high voltage in the secondary coil.
Always respect the voltage levels involved. These circuits can cause life-threatening injuries if handled incorrectly.
Required Components
Gathering the right parts determines the success of your build. You need specific ratings to ensure the system functions without failing prematurely.
Budget about $200 for your build. You can reduce this cost by sourcing hardware or salvaged materials from recycling centers.
Essential Materials
- Neon Sign Transformer (NST) rated at 9 kV and 30 mA.
- 680 feet of 23 AWG enameled copper wire for winding.
- 100 polypropylene film capacitors (1.5 kV, 0.01 uF).
- 3-inch diameter PVC pipe for the secondary coil.
- Aluminum foil or a metal sphere for the terminal.
- Mineral oil for insulating the capacitor bank.
Budget Strategy
Expect to spend roughly $35 on a transformer and $35 on capacitors. Hardware, such as fasteners and wood, usually costs around $20. The copper wire adds another $20. By salvaging wire or using spare acrylic sheets for the base, you can keep the final cost near $100.
Building Your Tesla Coil
Precision matters when you wind your coils and wire the circuit. Follow these steps to ensure stability and performance.
- Assemble the capacitor bank by wiring your capacitors in series to withstand the transformer output.
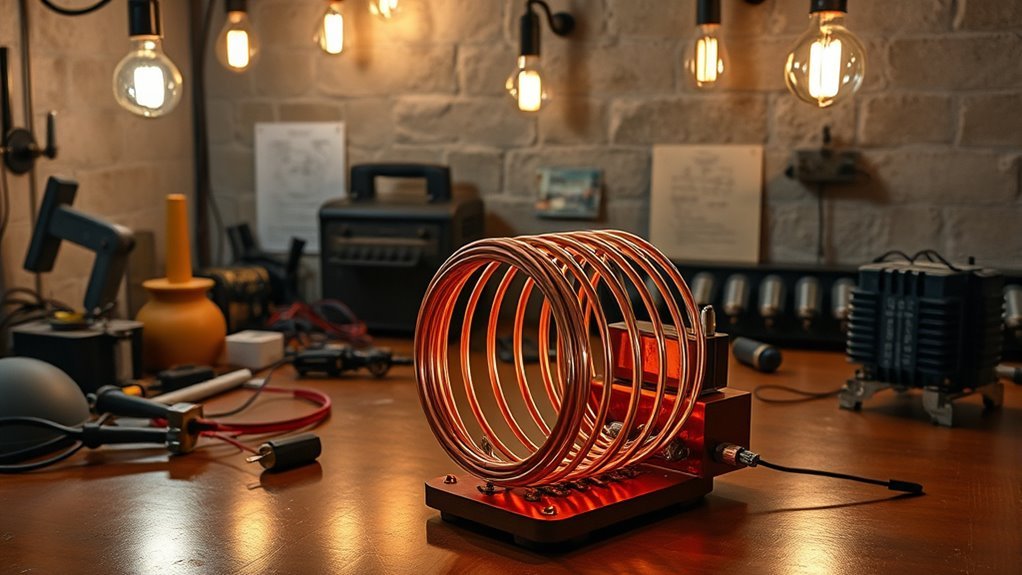
- Wind 800 to 1200 turns of wire around your PVC pipe to form the secondary coil and seal it with varnish.
- Create the primary coil using 9 turns of heavy, thick wire in a flat spiral configuration.
- Secure the coils and the capacitor bank to a wooden base using thick, well-insulated wiring.
- Connect a heavy-duty copper wire from the base of the secondary coil to a dedicated earth ground rod.
Safety Requirements
Operating a Tesla coil involves extreme electrical potential. Follow these rules to protect yourself.
Always work in an outdoor environment. This allows ozone, a byproduct of air ionization, to dissipate quickly. Never touch any part of the device while the power is connected.
Use a fire extinguisher nearby during every test. If you smell burning, cut the power immediately.
Testing Procedures
Testing requires a cautious approach. Ensure all spectators stand well away from the operating zone.
Safety Protocols
- Wear non-conductive, rubber-soled shoes and protective eyewear at all times.
- Confirm your RF ground connection is secure before applying any power.
- Keep one hand in your pocket when working near the circuit to prevent current from passing through your heart.
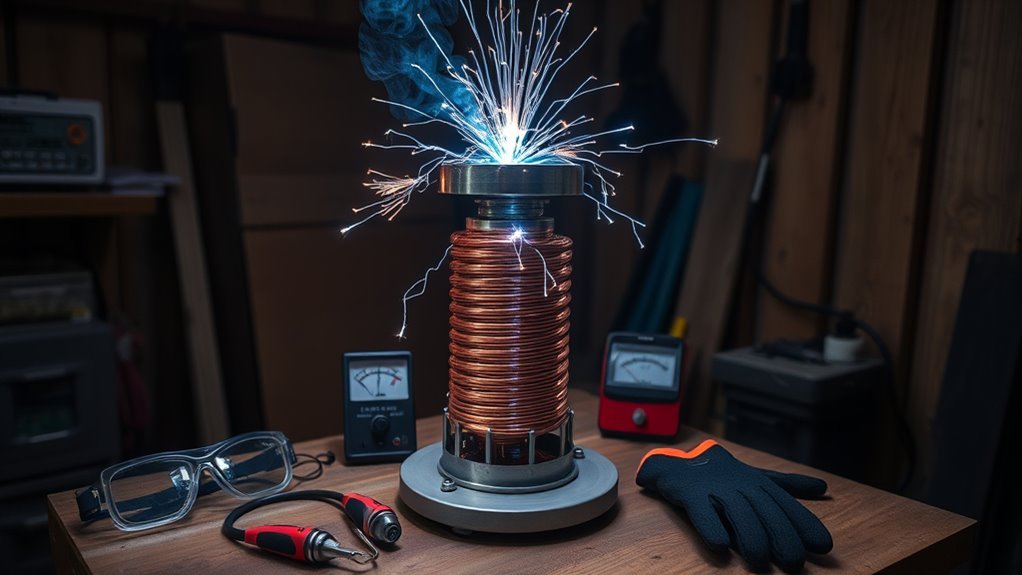
Execution and Observation
Power up the system in a darkened room to see the arcs clearly. Use a low power setting to observe the behavior of the spark gap. If the arcs reach 25 cm or more, your tuning is likely correct. If performance remains low, adjust the primary tap on the coil to match the resonant frequency better.
Performance Enhancement
Fine-tuning the primary tap remains the best way to gain more spark length. Try different contact points along the primary coil, typically between 7 and 15 turns, to find the sweet spot.
A smooth topload, such as a polished metal sphere, prevents premature breakout of arcs. This allows the coil to build higher potential before discharging. Always ensure your RF ground stays short and direct to reduce resistance.
Frequently Asked Questions
What is the function of the spark gap?
The spark gap acts as an automatic switch. It prevents energy from flowing into the primary coil until the capacitor voltage reaches a level high enough to ionize the air in the gap.
Can I run the coil for long periods?
No. These devices generate significant heat and ozone. Run the coil for short bursts of only a few seconds to prevent component damage or electrical fires.
Conclusion
Building a Tesla coil offers a hands-on look at the physics of electromagnetism and resonance. Take your time during the assembly process to prioritize secure connections and proper insulation. By following these safety standards, you will enjoy a successful and educational experience with high-voltage technology.


Leave a Reply