Does your Tesla key fob stop responding when you press the buttons? A failing battery is the most common cause for this frustration, and you can fix it yourself in just a few minutes with a standard CR2032 battery.
Quick Answer
To replace your Tesla key fob battery, pry open the fob casing along the seam, remove the old CR2032 battery, and insert a new one with the positive side facing up. Snap the casing back together and test the buttons to confirm the key fob works properly.
Why You Need to Replace Your Tesla Key Fob Battery
When your Tesla key fob battery weakens, the vehicle may fail to unlock or start. This fob typically uses a CR2032 battery that lasts between one and two years depending on your usage habits.
If the battery dies completely, you lose immediate access to your vehicle. Proactive maintenance ensures your key fob locks, opens, and calls your car without interruption.
What Tools Do You Need?
You only need a few basic items to complete this task:
- New CR2032 battery
- Phillips head screwdriver
- Small flat-head screwdriver or plastic pry tool
- Clean workspace with good lighting
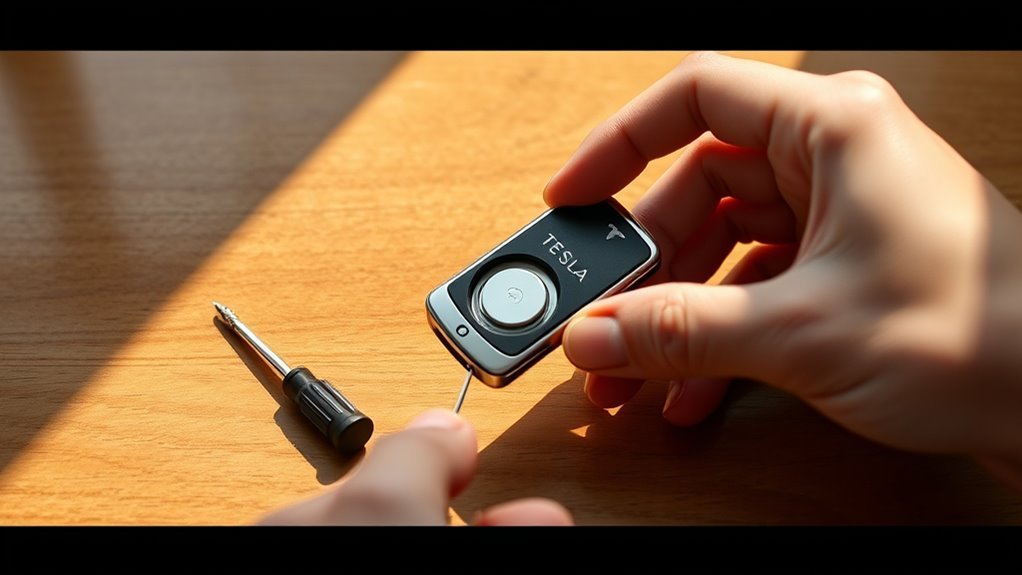
Step 1: Open the Key Fob
Flip your key fob over to find the small slot or depression near the bottom. Insert your flat-head screwdriver or plastic tool into this opening. Gently twist the tool to pry the two halves of the casing apart without forcing the plastic.
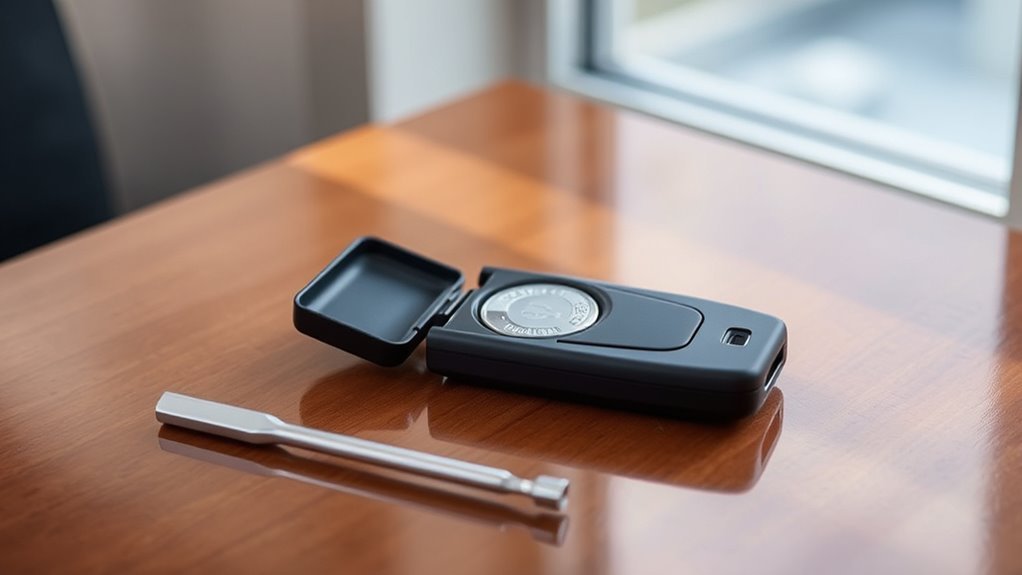
Step 2: Remove the Old Battery
Once you remove the cover, carefully lift the old CR2032 battery out of its compartment. Use a small tool or your fingernail to pry it loose. Note the orientation of the battery so you install the new one in the same position.
Step 3: Dispose of the Old Battery Safely
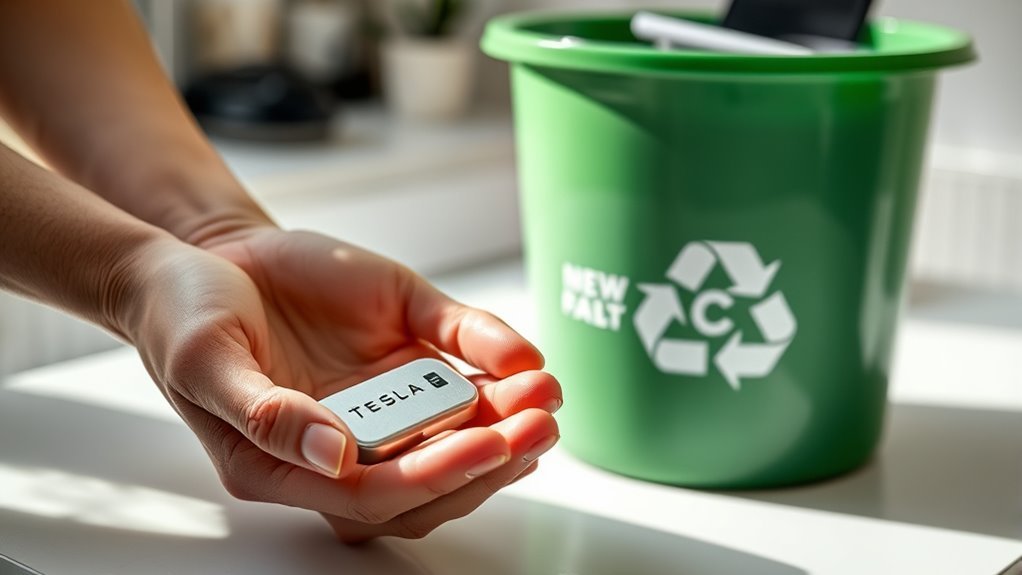
Never throw lithium batteries into your regular household trash. These batteries contain chemicals that harm the environment if they leak in landfills.
Take your used batteries to a local electronics store, hardware store, or designated hazardous waste recycling center. Many municipalities provide specific collection points for lithium button cells to ensure safe processing.
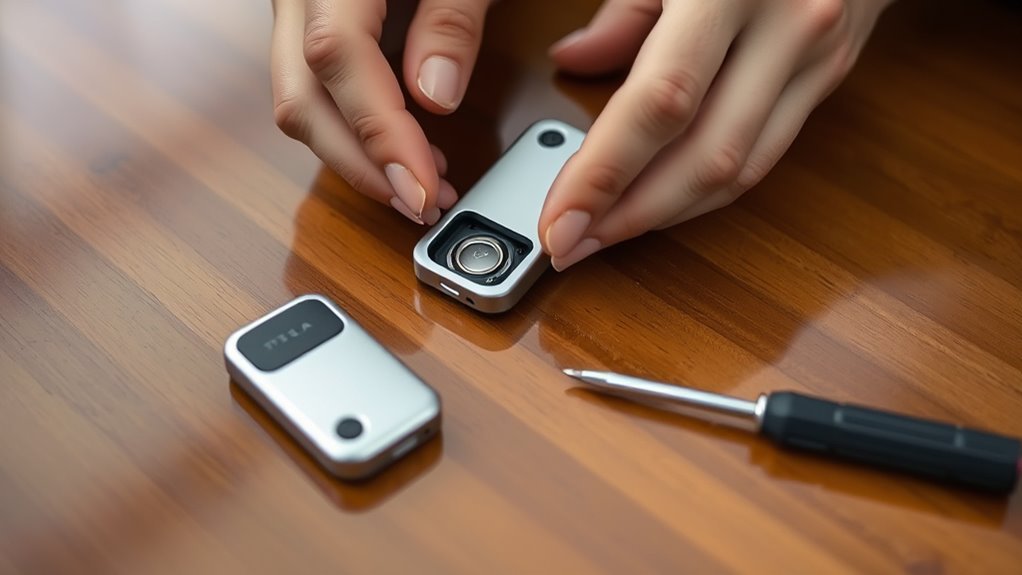
Step 4: Install the New CR2032 Battery
Place the new CR2032 battery into the compartment with the positive (+) side facing up. Ensure the battery sits flat and fits securely within the metal tabs. Avoid touching the flat surfaces of the new battery with your bare fingers to prevent oil transfer, which can interfere with electrical contact.
Step 5: Reassemble and Test
Align the two halves of the key fob and press them together until they click into place. Inspect the seam to ensure a tight, even fit. Test the buttons near your vehicle to confirm the fob transmits a signal correctly. If the car does not respond, re-open the casing and verify the battery is seated firmly against the contacts.
Tips for Extending Battery Life
You can prolong the life of your key fob battery by following a few simple habits:
- Keep the fob away from extreme cold or heat.
- Avoid accidental button presses while the fob sits in your pocket or bag.
- Store the key fob away from high-powered electronics or magnets that might drain the battery through signal interference.
Common Troubleshooting
If the key fob fails to work after the replacement, check the battery orientation again. Sometimes, the metal contact tabs flatten over time. You can gently bend them back into place so they exert more pressure on the battery. If you see signs of internal corrosion, wipe the contacts with a cotton swab dipped in a tiny amount of isopropyl alcohol.
Conclusion
Replacing your Tesla key fob battery is a simple maintenance task that keeps you moving without delay. Keep a spare CR2032 battery in your glovebox to ensure you always have access to your vehicle. Regularly testing your fob helps you identify a dying battery before it stops working entirely.


Leave a Reply