If your Tesla frunk gets stuck, you can regain access by using the emergency release cable hidden behind a small cover in the front bumper. If a dead 12V battery causes the issue, you can temporarily power the actuator using a 9V battery. Read on to master these techniques and keep your frunk operational.
Quick Answer
You can open a stuck Tesla frunk by locating the manual release cable behind the small access panel on the front bumper. If the vehicle lacks power, apply firm downward pressure on the hood while triggering the release, or provide external 9V power to the actuator terminals.
How to Access Your Stuck Tesla Frunk
Do not panic if the frunk fails to open. You can often resolve the issue by using the emergency release cable located under the front bumper. If you cannot reach the cable, you may need to lift the front of the vehicle safely using specialized pucks to gain clearance.
If the vehicle’s 12V battery is dead, the electronic latch will not fire. You can use a 9V battery to jump-start the actuator directly. While applying this external power, push down on the hood to relieve tension on the latch mechanism.
If these techniques fail to open the compartment, contact Tesla service immediately. Professionals use specialized tools to access the mechanism without causing damage to the paint or the hood assembly.
Common Causes of a Stuck Tesla Frunk
A stuck frunk usually results from two primary failures. Identifying the source helps you choose the right fix quickly.
A failed actuator prevents the latch from releasing even when the system receives a command. A dead 12V battery prevents the electronic latch from firing entirely. Recognizing these signs early reduces stress during a lockout.
Actuator Failure Symptoms
An actuator malfunction often presents as a latch that fails to disengage despite a clear signal. You might hear a faint clicking sound when you press the release button, which indicates the system has power but the mechanical arm is stuck or broken.
Water damage often causes these components to seize over time. If you have recently performed service work or modifications under the hood, check for misaligned panels or pinched cables. Always consult a qualified technician if electrical issues seem likely.
Dead 12V Battery Symptoms
A dead 12V battery stops the vehicle from powering the frunk latch. Watch for a non-responsive touchscreen button or “service required” alerts on your dash. Cold weather frequently accelerates battery failure in older units.
To avoid this, monitor your battery health during regular maintenance. If the battery dies, use a 9V battery to provide a temporary power boost to the actuator terminals.
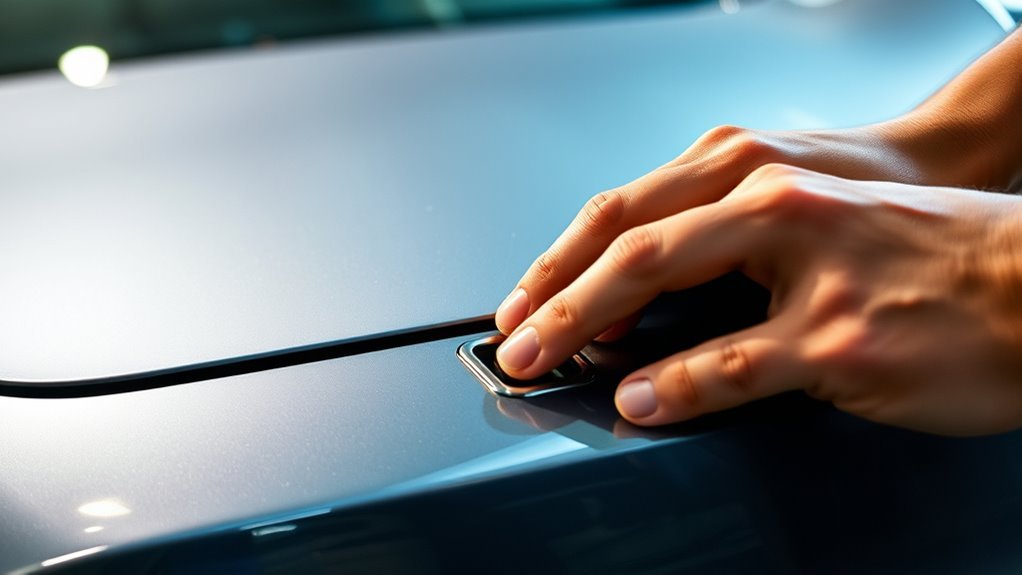
How to Use the Emergency Release Cable
The emergency release cable serves as a mechanical override for the electronic latch. Locate this cable behind a small 2-inch cover on the left side of the front bumper. Push the cover at the 4:00 position to pop it open.
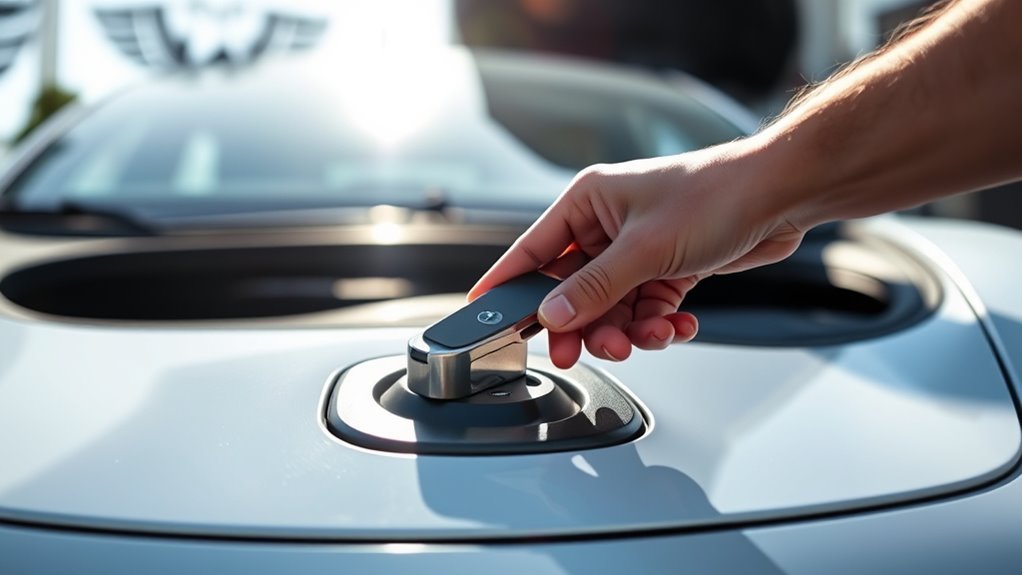
Locating the Manual Release
You must reach beneath the front bumper to find the access panel. Use a flashlight if you work in dim lighting. Once you remove the cover, you will see a cable loop or pull tab. Ensure the vehicle remains stable before you reach under the bumper.
Pulling the Cable Safely
Grasp the cable firmly and pull it straight down. You should hear the latch click open immediately. If the cable resists, do not yank it, as this may snap the wire. Instead, apply downward pressure on the hood to loosen the latch’s grip while someone else pulls the cable.
Important Safety Considerations
Always use proper lift points if you raise the car. Never put yourself in a position where the vehicle could shift or fall. Keep in mind that a manual release could technically be triggered by others if you leave the car in a public space, though it requires specific knowledge of the bumper cover location.
Troubleshooting Actuator Problems
If the emergency cable does not work, the issue may be mechanical binding rather than a power failure. Follow these steps to diagnose the problem:
- Apply 9V power to the actuator wires if you have access to the terminals.
- Inspect the latch area for debris or ice that might prevent movement.
- Push firmly on the hood while pressing the release button to relieve latch pressure.
- Contact mobile service if you suspect an internal mechanical failure within the actuator itself.
Maintenance Tips to Prevent Future Issues
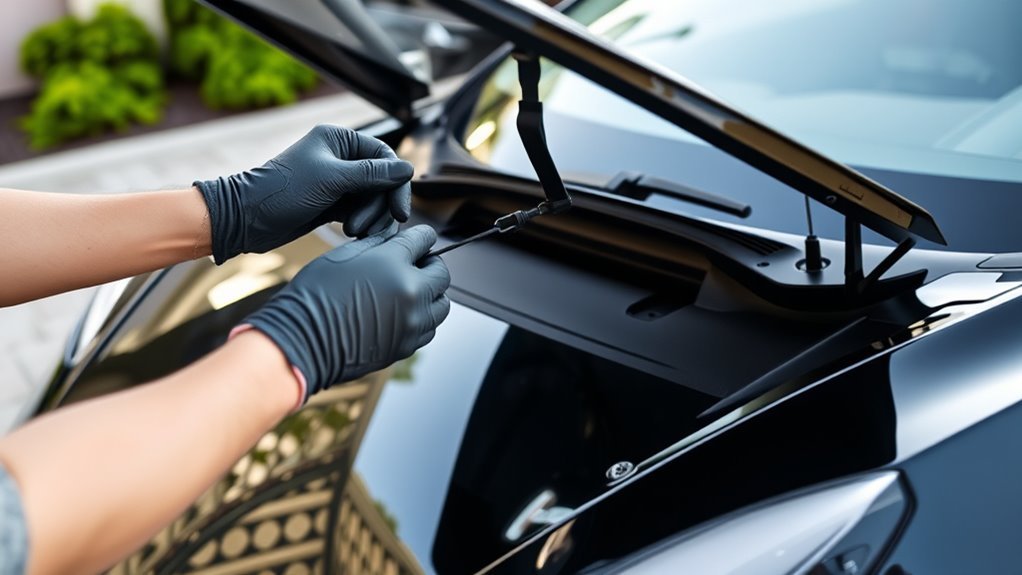
Preventive care keeps your frunk operational for years. Inspect your 12V battery status at every major service interval. Lubricate the hinge and latch mechanism with silicone spray to prevent corrosion.
Avoid overloading the frunk with heavy items that press against the lid. Keep the seals clean and free of dirt to prevent moisture from entering the electronics.
When to Call a Professional
Sometimes you need an expert to prevent damage to your vehicle. Contact roadside assistance if the hood remains stuck after you attempt the manual release. A professional has the proper tools to open the latch without breaking the bumper cover or the hood release assembly.
Summary
Maintaining access to your frunk requires simple habits like battery monitoring and occasional lubrication. Remember the location of your manual release cable for true emergencies. If the system stays locked, reach out to a professional to avoid costly repairs.


Leave a Reply