Quick Answer
To change a car battery, turn off the engine and remove the keys. Always disconnect the negative cable first, followed by the positive cable, before removing the battery bracket. Clean the tray, install the new battery, and connect the positive cable before the negative one to safely restore power.
Changing your car battery is a simple way to save on repair costs without needing a mechanic. You can finish this task in about 30 minutes with a few basic tools and a clear plan. We will guide you through the process, from choosing the right tools to disposing of your old battery safely.
Key Takeaways
- Turn off the ignition and remove the keys to prevent electrical surges.
- Always disconnect the negative (black) terminal first to prevent short circuits.
- Use a wire brush to clean corrosion from the tray and cable ends before installing the new unit.
- Connect the positive (red) terminal first when installing the new battery.
- Expect a typical lifespan of three to five years for most standard automotive batteries.
Tools Needed for Battery Removal
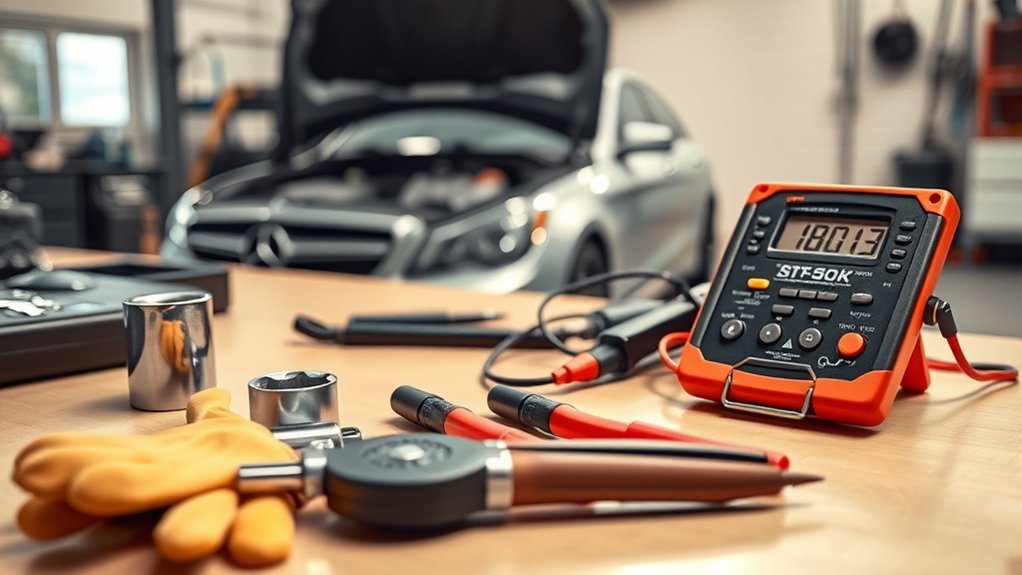
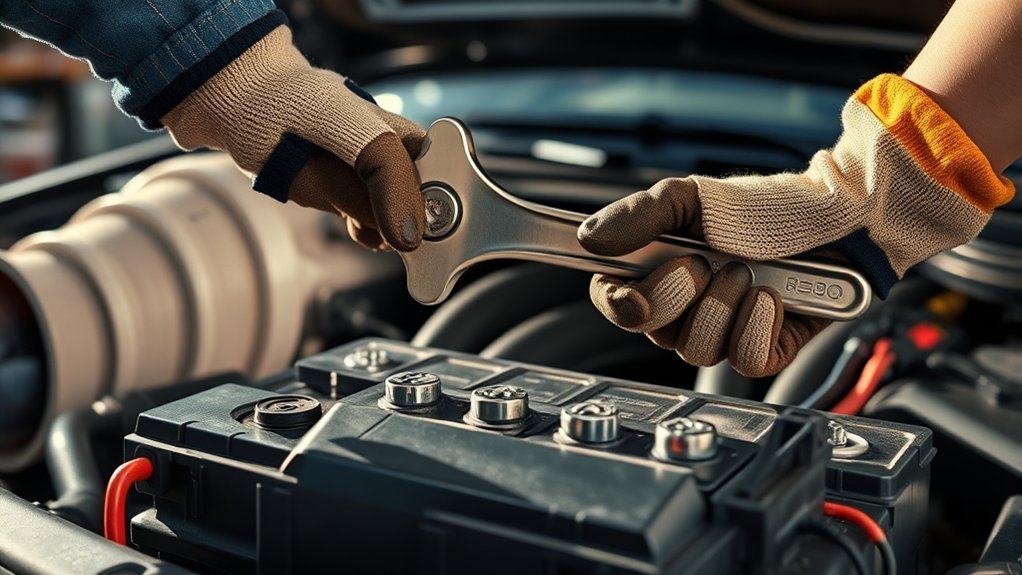
Gather your supplies before you pop the hood to make the job efficient. You will likely need a 10mm or 12mm socket or wrench, as these fit most battery clamp nuts. A ratchet with an extension helps you reach bolts in tight engine bays.
Keep a wire brush nearby to scrub corrosion off the terminals. Wear sturdy gloves and safety glasses to protect yourself from battery acid and road grime. Finally, keep a clean shop towel handy to wipe away any debris.
Safety Steps Before You Start
Your safety remains the priority throughout this task. Ensure the car ignition is off and remove the keys from the vehicle to prevent accidental starts. Engage the parking brake to keep the car stationary.
Put on your safety glasses and gloves immediately. This gear shields you from corrosive battery acid and buildup. Identify the positive terminal (marked with a plus sign and a red cable) and the negative terminal (marked with a minus sign and a black cable). Take a quick photo of the setup to ensure you reconnect everything correctly later.
How to Disconnect a Car Battery
Follow this sequence to avoid sparks or electrical damage. Perform these steps carefully to protect your car computer and wiring.
Disconnect the Negative Terminal
This step acts as the most critical rule for battery removal. Use your wrench to loosen the nut on the negative (black) terminal clamp. Do not remove the nut completely; loosen it enough to twist and pull the clamp off the post. Move the cable far away from the terminal so it cannot touch the post again.
Disconnect the Positive Terminal
Repeat the exact process for the positive (red) terminal. Loosen the nut, remove the clamp, and move the cable to the side. Ensure this cable does not touch any metal parts of the vehicle or the negative cable.
Removing the Old Battery
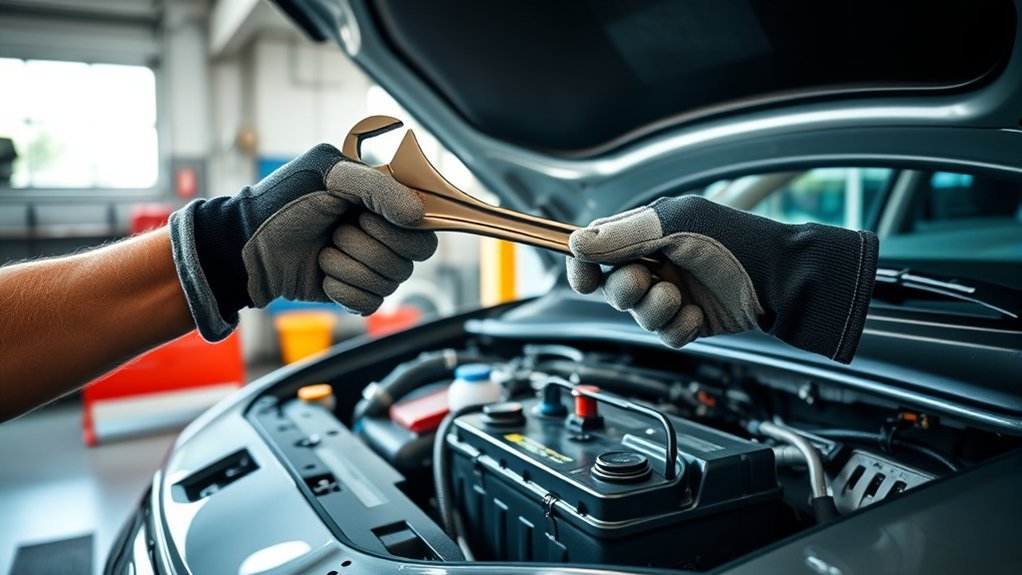
Most batteries have a bracket or tie-down rod that prevents them from moving. Locate the bolt or nut holding this clamp and remove it. Grip the battery firmly—it often weighs about 40 pounds—and lift it straight up out of the tray. Keep the battery level to prevent acid spills and place it on a stable, flat surface.
Preparing the Battery Tray
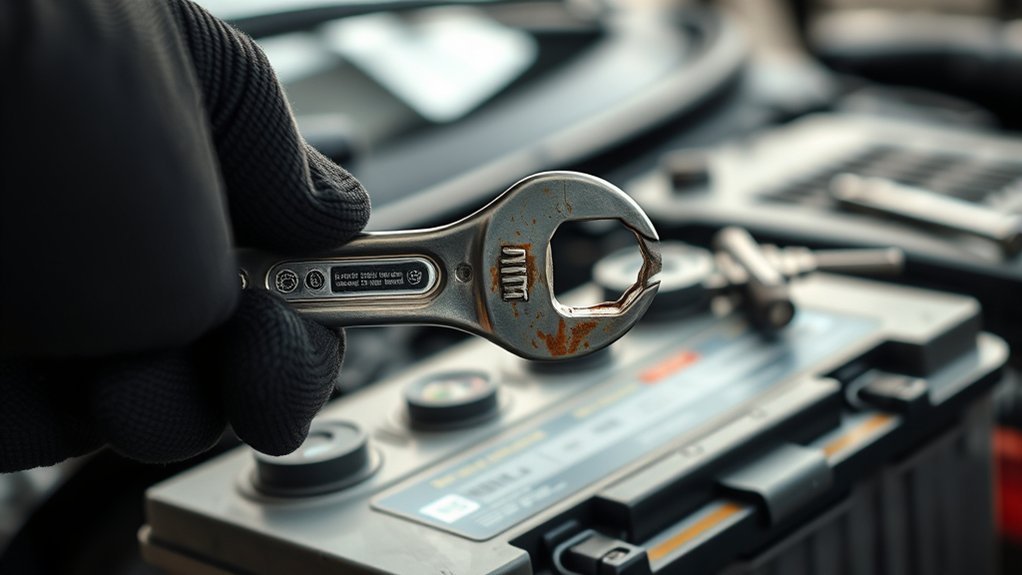
You now have clear access to the battery tray. Many people skip this part, but a clean tray promotes a longer life for your new unit. Check for dirt, debris, or white, powdery corrosion.
Use a wire brush to scrub grime from the tray and cable clamps. If you face heavy corrosion, mix one tablespoon of baking soda with a cup of water to neutralize the acid. Scrub the area with this solution, then wipe it dry with a clean rag before proceeding.
Installing the New Battery
Place the new battery carefully into the clean tray. Ensure it sits in the correct orientation so the positive and negative posts line up with their respective cables. Once the battery sits flat, reinstall the hold-down bracket. Tighten it securely, but avoid over-tightening, as you might crack the battery case.
Reconnecting the Cables
Reverse the removal order to complete the connection. Connect the positive (red) cable first by placing the clamp on the post and tightening the nut until it feels snug. Connect the negative (black) cable next. Double-check both connections; loose cables often cause electrical issues or starting failures.
Managing Modern Car Electronics
Modern vehicles often feature sensitive computer systems. You might need to input a radio code or reset your power windows by rolling them all the way down and up after power is restored. If your car alarm sounds during reconnection, press the unlock button on your key fob to silence it.
Check your owner manual if your car has a stop-start system, as it may require a specific battery type like an AGM or EFB unit. Some luxury vehicles even require a diagnostic tool to register the new battery with the car computer. Always consult a qualified professional before making complex electrical adjustments.
DIY Versus Professional Replacement Costs
Doing this job yourself saves you significant money. While shops charge for labor and disposal, you only pay for the battery itself. Note that most retailers charge a core fee (about $15 to $20) upfront. You receive this money back when you return your old battery to the shop.
Maintaining Your Battery Health
Inspect your terminals for white, crusty corrosion once or twice a year. If you spot buildup, scrub it away with a wire brush. You can apply a battery protectant spray to keep the terminals clean and prevent future oxidation.
If you store your vehicle for long periods, use a battery maintainer. This device prevents overcharging while keeping the battery ready for use. Consistent care helps you extract every bit of value from your investment.
Frequently Asked Questions
Can I remove a car battery without special tools?
Yes, you usually only need a basic 10mm or 12mm wrench or socket set, which you can find at any local hardware store.
How long does the process take?
Most people finish the entire removal and installation process in 15 to 30 minutes.
What should I do if the battery leaks?
Handle leaking batteries with extreme caution. Wear gloves and glasses, as the acid can cause burns. Isolate the battery and take it to a hazardous waste facility immediately. Always consult a qualified professional if you are unsure how to handle chemicals.
Is it safe to touch the battery terminals?
Avoid touching terminals with bare hands. While a 12V battery is unlikely to cause a lethal shock, the danger lies in creating a short circuit with metal tools or jewelry, which can cause sparks or burns. Wear protective gear at all times.
Can I recycle my old car battery?
Yes, you must recycle them. Car batteries contain lead and acid that harm the environment if placed in standard trash. Most auto parts stores accept old batteries for free, especially since the core charge encourages responsible recycling.
Summary
Changing a car battery is an excellent first step into DIY maintenance that saves money and builds your confidence. By focusing on safety, connecting the terminals in the correct order, and maintaining a clean tray, you ensure your car stays reliable. Remember to return your old battery to a local parts store for proper recycling.


Leave a Reply