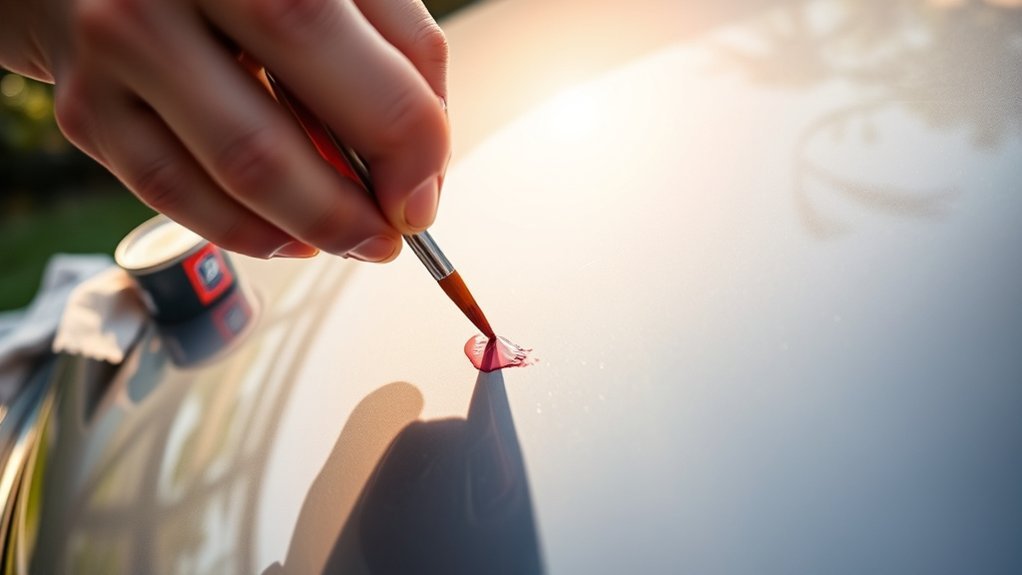
Deep scratches and scuffs can make your car look worn, but you can repair many small areas at home with the right tools and a little patience. The first step is to check how deep the damage goes. Light marks may only need polishing, while scratches that reach the color coat, primer, or metal require a different approach.
To remove deep scratches from your car at home, you may need matching automotive touch-up paint, careful surface preparation, clear coat, and final polishing. The goal is to improve the appearance of the damaged area while protecting the underlying material from further damage.
Quick Answer
To remove deep car scratches at home, wash and inspect the damaged area, remove loose paint or rust, and apply matching touch-up paint in thin layers. Add primer and clear coat when required by your repair system. Allow the coatings to cure, then carefully level and polish if needed. Large or severe scratches may require professional refinishing.
Key Takeaways
- Check the scratch depth before choosing a repair method.
- Clean the damaged area with car-wash soap and an appropriate surface-preparation product.
- Use coarse abrasives only where the damage and selected repair procedure require them.
- Match touch-up paint using your vehicle’s paint code rather than guessing from its appearance.
- Apply primer, color, and clear coat in the sequence specified by the paint manufacturer.
- Allow the repair to dry or cure as directed before sanding, polishing, or waxing.
- Seek professional help when damage is extensive or the original finish cannot be safely restored.
At a Glance
| Time Required | Allow several hours for preparation and application, plus the drying and curing time specified by the paint manufacturer. |
| Difficulty | Beginner to intermediate for small touch-ups; advanced for extensive repainting. |
| Tools Needed | Car-wash soap, microfiber towels, surface cleaner, masking tape, matching touch-up paint, appropriate primer and clear coat, fine abrasives, and polishing supplies. |
| Cost | Varies with the paint system, scratch size, and supplies already available. |
Identify the Type of Car Scratch Before Repairing It
Before sanding or applying paint, inspect the damaged area in good light. A car’s exterior finish usually includes primer, a color coat, and a protective clear coat. The repair method depends on which layers have been damaged.
A useful first check is to gently run a clean fingernail across the mark. If your nail does not catch, the damage may be shallow enough for polishing. If it catches, inspect more carefully before choosing a repair method.
A fingernail test is only a guide. It cannot measure the remaining clear-coat thickness or identify every damaged layer.
| Type of Damage | What You May Notice | Typical Repair |
|---|---|---|
| Surface scuff or paint transfer | A mark sitting on top of the finish. | Gentle cleaning and a suitable polishing product. |
| Light clear-coat scratch | A fine mark without visible exposed color loss. | Scratch remover or polishing compound. |
| Scratch through the color coat | A visible line showing a different layer beneath the paint. | Matching touch-up paint and clear coat, with primer if required. |
| Exposed metal | Bare metal or rust visible beneath the coating. | Remove corrosion, prepare the substrate, and apply an appropriate protective paint system. |
| Large or severe damage | Extensive missing paint, peeling, dents, or spreading corrosion. | Professional body repair and refinishing. |
According to 3M’s scratch-removal guidance, polishing and light sanding are intended for damage in the outer clear-coat layer. Scratches extending beyond that layer may require repainting.
Warning: Do not keep sanding until a deep scratch disappears. Removing too much clear coat can create a larger repair problem. If the scratch reaches bare metal or your fingernail catches firmly, assess whether touch-up paint or professional repair is appropriate.
Gather the Essential Tools for Scratch Repair
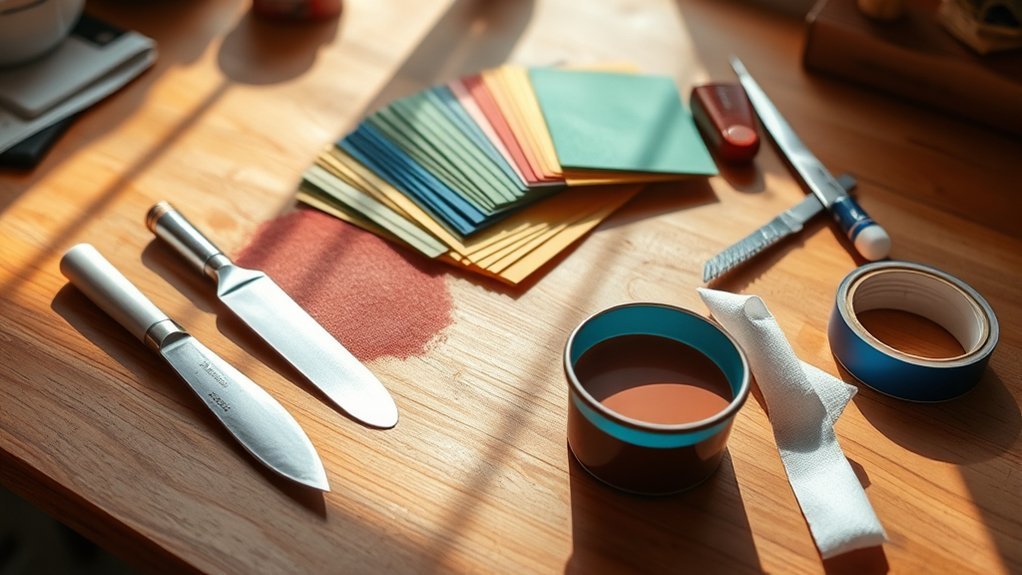
Having the right tools makes scratch repair easier and helps you avoid creating more damage. You do not need every product for every scratch, so choose supplies based on the type of damage.
Cleaning and Preparation Supplies
- Automotive car-wash soap and clean water.
- Clean microfiber towels.
- Isopropyl alcohol or a paint-compatible wax-and-grease remover.
- Automotive masking tape.
- Appropriate abrasive preparation tools.
- Fine wet-sanding paper, if the repair procedure calls for it.
- Disposable protective gloves and safety glasses.
Keep 400-grit abrasive paper available only for a preparation task that specifically requires it. For delicate finish correction, much finer abrasives may be appropriate.
If masking tape needs trimming, use a suitable cutting tool away from the painted panel. Never drag a razor blade across the vehicle’s finish.
Paint and Finishing Supplies
- An automotive paint pen or touch-up bottle matching the vehicle’s paint code.
- Compatible primer when the repair exposes a substrate that requires it.
- A compatible clear coat.
- Fine applicators for narrow scratches.
- Polishing compound and a soft polishing pad or cloth.
- A spray bottle with clean water for optional wet sanding.
For example, Dupli-Color Scratch Fix All-in-1 combines an abrasive preparation tip, color-matched paint, and a separate clear-coat applicator.
Other systems use individual primer, basecoat, and clear-coat products. Follow the sequence specified for your particular system rather than mixing incompatible products.
The right repair depends on the depth of the scratch, not simply how visible it looks.
Clean and Prepare Scratches for Repair
Good preparation is essential for paint adhesion. Dirt, wax, grease, loose paint, and rust can prevent a lasting repair.
Step 1: Wash and Dry the Panel
Start by washing the entire affected panel with automotive car-wash soap and clean water.
Use a microfiber towel to remove dirt without introducing new scratches. Rinse the panel and dry it thoroughly.
Next, wipe the damaged area with a clean cloth and a compatible surface-preparation product. Isopropyl alcohol is suitable for many touch-up procedures, including the Dupli-Color instructions referenced above.
Do not soak fresh paint or apply an unfamiliar solvent without checking compatibility.
Step 2: Check for Rust and Loose Paint
Inspect the scratch carefully. If bare steel is exposed, look for corrosion around the damaged edges.
Use the abrasive preparation tip supplied with your touch-up kit or the abrasive recommended by your paint manufacturer to remove loose paint and surface rust.
For more extensive preparation, 400-grit paper may be suitable when specified by the selected repair system. Keep the work confined to the damaged area rather than sanding the surrounding healthy finish unnecessarily.
If corrosion extends beneath the surrounding paint, or the metal is pitted or weakened, a small cosmetic touch-up may not be enough.
Step 3: Prepare the Edges and Mask the Area
Lightly smooth loose or raised edges only as needed. Avoid widening the scratch more than necessary.
Use automotive masking tape to protect adjacent surfaces, trim, and areas that should not receive paint.
Do not cover or apply paint over cameras, sensors, lighting components, or other vehicle equipment.
Step 4: Find the Correct Paint Code
Choose touch-up paint using the vehicle’s official paint code.
The code is commonly located on a manufacturer label inside the driver’s door jamb, although its location varies by brand and model.
If you cannot locate it, consult the owner’s manual or contact a dealership with the vehicle identification number (VIN).
The VIN can help a dealership identify the original paint specification, but the VIN itself is not the paint code.
Pro Tip: Before touching the visible scratch, test the paint on a suitable hidden area or test surface. Metallic, pearl, and three-stage colors can be especially difficult to blend because their appearance depends on the full coating system and application technique.
Preparation Checklist
| Task | Tools Needed |
|---|---|
| Clean with soapy water | Car-wash soap, clean water, microfiber towel |
| Remove grease and wax | Compatible surface cleaner and lint-free cloth |
| Remove loose paint or surface rust | Paint-system preparation tool or specified abrasive |
| Tape off the scratch | Automotive masking tape |
| Confirm paint color | Manufacturer paint code and matching touch-up paint |
Apply Touch-Up Paint Like a Pro
Once the area is clean and prepared, you can begin restoring the missing coating.
Work in a clean, well-ventilated space away from flames and ignition sources. Wear protective gloves and eye protection, and follow the product’s safety label.
Warning: This procedure is intended for small consumer touch-up repairs. Professional two-component automotive coatings may contain hazardous isocyanates and require specialized spraying equipment and respiratory protection. Do not attempt professional spray refinishing without the necessary training and protective controls.
Step 1: Apply Primer When Required
If the scratch reaches bare metal or another exposed substrate, determine whether your touch-up system requires a separate primer.
Use a compatible primer according to its instructions. Some integrated touch-up products combine priming and color application, while other systems require separate materials.
For plastic bumper damage, use the preparation and adhesion products specified for that plastic and paint system. Plastic does not develop the same rust as bare steel, but paint adhesion remains important.
Allow the primer to dry as directed before applying the next coating.
Step 2: Apply Matching Color in Thin Layers
Shake or prepare the automotive paint pen according to the manufacturer’s directions.
Use the fine applicator for narrow scratches and the brush end for larger chips or damaged areas.
Apply the paint carefully inside the scratch, using thin, controlled layers.
Avoid applying a thick blob of paint. It can create a raised repair that becomes difficult to finish.
Allow each layer to dry for the interval specified on the product label.
For example, AutomotiveTouchup’s paint-pen instructions specify at least five minutes between light color coats and at least one hour before clear coat.
Dupli-Color’s Scratch Fix All-in-1 instructions specify a different recoat interval. Always use the directions for the product actually being applied.
Step 3: Apply the Clear Coat
After the color coat has reached the required drying stage, apply the compatible clear coat.
The clear coat helps protect the color layer and restore the finish’s appearance.
Apply it evenly without dragging the applicator aggressively through the fresh color coat.
Follow the manufacturer’s instructions for coat count, drying time, and application technique.
Do not assume that a surface is ready for sanding or polishing merely because it feels dry.
Step 4: Remove Masking Tape Carefully
Remove the masking tape at the stage recommended by your paint system, taking care not to lift the new coating.
Pull the tape back slowly at a shallow angle rather than tearing it away.
Do not use a fixed ten-minute removal rule for every paint product. Coating type, application thickness, and environmental conditions can affect the correct timing.
Note: Many touch-up products work best in moderate temperatures and low humidity. Dupli-Color specifies an application range of 60°F to 95°F (16°C to 35°C) for its Scratch Fix All-in-1 product. Other products may have different requirements.
Blend and Polish for a Flawless Scratch Repair
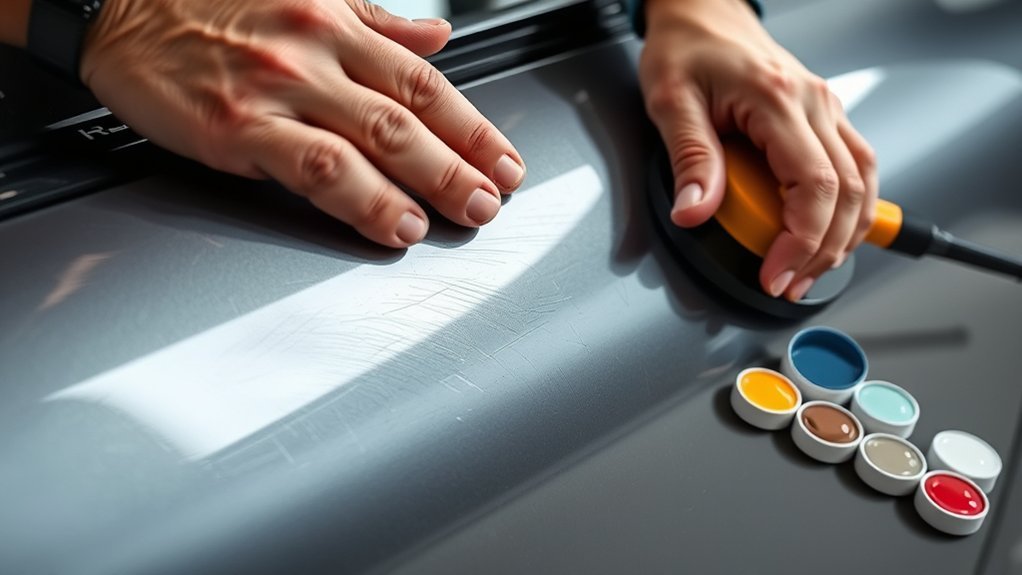
Once the touch-up paint and clear coat have dried or cured for the required period, you can assess whether the repaired surface needs finishing.
A small touch-up does not always need sanding. If the repaired area already looks acceptable, leaving it alone can be safer than removing more material.
When to Wet Sand the Repair
Wet sanding may help level a raised repair, but only when the paint manufacturer permits it and the coating is sufficiently cured.
If your repair procedure calls for sanding, a fine abrasive progression such as 2000, 3000, and 5000 grit may be appropriate for certain cured finishes.
The correct starting grit depends on the coating, defect, and sanding system. It is not necessary to use every grit on every repair.
Keep the abrasive and work area lubricated with clean water when wet sanding. Use gentle pressure and inspect the surface frequently.
Do not continue if you begin exposing the color coat or removing healthy surrounding clear coat.
According to 3M’s spot-repair procedure, abrasive grades are selected as part of a controlled finishing sequence, followed by scratch refinement and polishing.
Polish the Repaired Area
After any permitted leveling step, use a suitable polishing compound with a soft buffing pad or microfiber applicator.
Work gently over the repaired section to reduce sanding marks and restore gloss.
A polishing compound is more effective than a dry cloth alone for correcting fine sanding marks.
Avoid excessive pressure, repeated aggressive polishing, or holding a machine polisher in one position.
Finish by wiping away remaining polish with a clean microfiber towel.
A well-executed touch-up can make a scratch much less noticeable, but it may not produce a completely invisible repair. The result depends on the scratch depth, paint color, surrounding finish, and application technique.
Troubleshooting Common Scratch Repair Problems
Small imperfections are common when repairing automotive paint by hand. Identifying the cause can prevent unnecessary sanding or repainting.
Touch-Up Paint Looks Raised
A thick paint application can leave a small ridge above the surrounding finish.
Allow the coating to cure according to its instructions before considering any correction.
If the ridge is minor, leaving it alone may be preferable. If leveling is required, follow an appropriate fine-abrasive procedure without cutting through the new clear coat.
The Repaired Area Looks Dull or Hazy
Haze can result from sanding marks, incomplete finishing, or a coating that has not reached its required drying stage.
If sanding caused the haze, a suitable compound and polish may restore the appearance after the coating is ready.
Do not repeatedly polish uncured paint.
The Touch-Up Color Does Not Match
First, verify the manufacturer’s paint code.
Even a correctly coded color may appear different because of aging, metallic effects, pearl layers, or differences in application.
Three-stage finishes may require a separate midcoat to reproduce the original appearance.
For a highly visible mismatch, a professional blend into the surrounding panel may produce a better result.
The New Paint Peels or Does Not Adhere
Possible causes include contamination, inadequate preparation, incompatible coatings, or insufficient drying time.
Do not keep layering paint over loose material. Remove the failed coating according to the product instructions and prepare the surface again.
When to Choose Professional Scratch Repair
DIY touch-up paint is best suited to small, localized damage. Some repairs require specialized materials, controlled application conditions, or extensive surface preparation.
Consider professional body repair when:
- The scratch covers a large section of a panel.
- Paint is peeling or lifting around the damage.
- Rust extends beneath the surrounding coating.
- There is a dent, deep gouge, or damaged body material.
- The vehicle has a complex pearl, metallic, matte, or multi-stage finish that requires accurate blending.
- The damaged area contains sensors, cameras, or other components that could be affected by repair work.
- The repair needs to be as visually consistent as possible across the full panel.
A professional may recommend localized refinishing or repainting the affected panel, depending on the damage.
Care for Your Car’s Finish After Scratch Repair
Proper aftercare helps protect your repair and maintain the appearance of the surrounding paint.
Allow the Touch-Up Paint to Cure
Follow the curing and aftercare instructions supplied with your paint system.
Many touch-up systems recommend avoiding wax for approximately 30 days. For example, AutomotiveTouchup specifies a one-month waiting period before waxing a fresh repair.
Do not apply wax or ceramic coating before the repair is ready for those products.
Wash the Repaired Area Gently
Once the manufacturer permits washing, use an appropriate car-wash soap and clean water.
Avoid aggressive scrubbing, harsh cleaning products, and abrasive brushes.
Dry with a soft microfiber towel to reduce the risk of new scratches.
Inspect the Repair Periodically
Watch for peeling, fading, exposed material, or spreading corrosion.
If damage reappears, identify the cause before applying additional paint.
Do not simply cover rust or peeling coatings with another layer of touch-up paint.
After the repair has fully cured, maintain the finish with normal washing and a compatible paint-protection product.
Frequently Asked Questions
How do you get rid of deep scratches in car paint?
Clean the damaged area, identify which paint layers are affected, and remove loose paint or rust. Apply a compatible primer if required, followed by matching touch-up paint and clear coat. Allow the coatings to cure according to the manufacturer’s instructions. Optional fine leveling and polishing may improve the final appearance.
How deep of a scratch can paint correction fix?
Paint correction is generally suited to shallow defects in the clear coat. There is no universal numerical depth limit because coating thickness and condition vary. Scratches extending through the clear coat usually require additional paint rather than polishing alone.
How can you remove deep scratches from your car yourself at home?
For small, localized damage, wash and prepare the surface, remove loose material, apply matching touch-up paint, and finish with compatible clear coat. Follow the product’s drying and curing instructions before attempting any optional sanding or polishing.
Does WD-40 really remove scratches?
WD-40 does not restore missing automotive paint or clear coat. It may temporarily change how a mark looks, but it is not a permanent scratch-repair method. Use a suitable polishing product for light clear-coat marks or matching touch-up paint for deeper damage. Clean away any oily residue before painting.
Can toothpaste remove deep car scratches?
Toothpaste cannot replace missing paint or clear coat. Its abrasive ingredients may also create unwanted marks. A dedicated automotive polishing product is a more appropriate choice for light clear-coat defects.
Can you repair a scratch that reaches bare metal?
Small areas may be repairable at home if the metal is sound and corrosion is limited. Remove loose material and rust, then apply the compatible primer, color coat, and clear coat required by the selected system. Extensive corrosion or damaged metal needs professional assessment.
How long should touch-up paint dry before polishing?
The waiting period depends on the paint system and application conditions. AutomotiveTouchup specifies at least one day before using rubbing compound on its paint-pen repair, while other manufacturers may require different intervals. Follow the instructions for the exact products used.
Can you repair deep scratches on a plastic bumper?
Small scratches on painted plastic bumpers can often be repaired using a compatible automotive touch-up system. Exposed plastic may require special surface preparation, adhesion promoter, or primer. Deep gouges, cracks, and damaged mounting areas may require professional plastic repair or replacement.
Conclusion
Removing deep scratches and scuffs from your car at home starts with understanding the damage. Light clear-coat marks may respond to polishing, while deeper scratches often require careful preparation, matching touch-up paint, and a protective clear coat.
Take your time with each step, follow the coating manufacturer’s instructions, and avoid aggressive sanding. With suitable tools and careful application, you can improve the appearance of many small scratches while protecting the damaged area.
For extensive damage or repairs that need a nearly invisible finish, professional refinishing may be the better option. Regular washing and gentle paint care will help maintain the repaired surface and your car’s overall appearance.
Sources
- 3M — Scratch Removal System — explains clear-coat scratch correction and the limitations of polishing deeper damage.
- Dupli-Color — Scratch Fix All-in-1 Touch-Up Paint — manufacturer instructions for preparation, paint application, clear coat, drying intervals, and application conditions.
- AutomotiveTouchup — Paint Pen Directions — explains basecoat application, clear-coat timing, polishing, and waxing precautions.
- 3M — Spot Repair Standard Operating Procedure — professional guidance for abrasive selection, scratch refinement, and polishing.
- PaintScratch — Automotive Paint Application Directions — explains surface preparation and primer, basecoat, midcoat, and clear-coat application.
- U.S. Environmental Protection Agency — Automotive Refinishing Safety Information — guidance on chemical exposure, sanding, ventilation, and safe automotive-refinishing practices.





Leave a Reply