If your Tesla Autopilot features feel off or show errors, your car’s cameras likely need a calibration reset. This process aligns the cameras with the vehicle’s frame to ensure accurate lane detection and object recognition.
Quick Answer
To recalibrate your Tesla cameras, navigate to Controls > Service > Camera Calibration and select Clear Calibration. Then, drive 20 to 25 miles on straight roads with clear lane markings to allow the system to realign. Your Autopilot features will remain disabled until the vehicle confirms the process is complete.
Why Camera Calibration Matters for Autopilot
Camera calibration acts as the foundation for Tesla’s Autopilot system. It ensures every external camera provides accurate data about the car’s surroundings, which allows the software to interpret lane lines, traffic signals, and nearby obstacles correctly.
When cameras lose their alignment, the car disables Autopilot features for safety. You must complete the calibration process before these systems reactivate. While software updates or camera servicing often trigger the need for a recalibration, you should also consider it if the car struggles to center itself in a lane.
Signs Your Tesla Needs Calibration
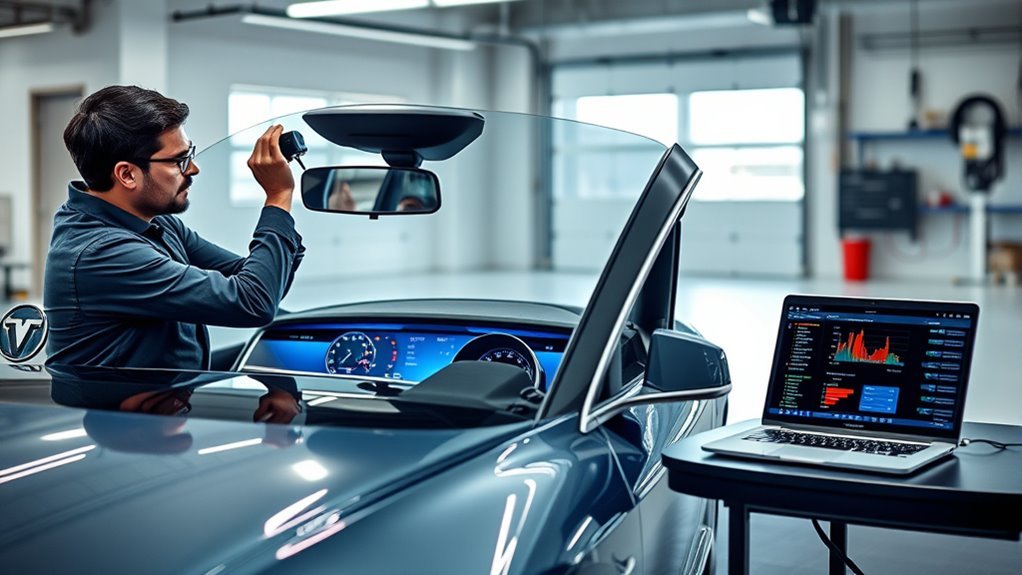
Your vehicle will typically alert you if it requires recalibration. Watch for warnings on the touchscreen, especially after windshield replacements or service visits. If these alerts appear, the car cannot reliably track lane markings or maintain a steady speed using cruise control.
Common Symptoms of Misalignment
If your Autopilot behaves erratically, you might notice specific issues. Look for these warning signs that indicate a need for a fresh calibration cycle:
- Alerts regarding camera status appear on the center display.
- Autopilot features remain grayed out or unavailable.
- The car drifts toward the edges of a lane instead of staying centered.
- Cruise control settings fail to engage during standard operation.
- The vehicle recently underwent service work or a windshield swap.
Steps to Calibrate Your Tesla Cameras
Follow this procedure to force a reset and initiate the calibration cycle. Ensure you have a clear route ahead before you start.
- Open the Controls menu on your touchscreen.
- Select Service and find the Camera Calibration option.
- Select Clear Calibration to wipe the existing data.
- Drive your vehicle for 20 to 25 miles on roads with well-defined lane markings.
The system monitors its progress in real-time. You do not need to perform any special maneuvers; simply driving normally on a straight, marked road provides the best data for the software. If the process does not finish within 100 miles, reboot your screen or contact Tesla support.
Optimizing Driving Conditions
The quality of your calibration depends on the data your cameras receive. If the cameras cannot see the lines, the system cannot calibrate.
Best Road Environments
Choose your route carefully to speed up the process. A multi-lane highway offers the most consistent environment for the vehicle’s sensors.
- Drive in the middle lane of a multi-lane highway.
- Seek out high-contrast, clearly painted lane markings.
- Choose times when traffic is light to avoid obstacles.
- Avoid construction zones or roads with faded paint.
Importance of Clean Lenses
Before you start, wipe down each camera lens with a clean microfiber cloth. Even minor smudges, dust, or road grime can distort the camera’s feed. If the lenses are dirty, the calibration will likely fail or take significantly longer to finish.
What to Do if Calibration Fails
If the progress bar on your screen stops or displays an error, stay calm. First, verify that your driving environment meets the requirements. If you were on a curvy road or a path with poor lighting, try a different route.
If you have already driven more than 100 miles and the car still shows an error, reboot the system. Hold down both scroll wheels on the steering wheel until the screen goes black and the Tesla logo appears. Allow the car to enter a “sleep” state by parking it for a few hours. This reset often clears stubborn software glitches.
Maintaining Calibration
Proper alignment requires periodic attention. Keep your lenses free of debris during your daily commute to prevent the cameras from struggling to track the road. If you schedule a service appointment for a camera issue, ask the technician if they performed a fresh calibration before you leave the shop.
Frequently Asked Questions
Does the process require an internet connection?
No. Your vehicle processes the calibration data locally. You do not need to be near Wi-Fi or have a strong cellular signal to complete the setup.
Can I drive with Autopilot disabled?
Yes. You can drive your vehicle normally even while the camera calibration is in progress. The car will continue to operate like a standard vehicle, but assisted driving features will not function until the progress bar reaches 100 percent.
How do I know if calibration is complete?
The status notification on your touchscreen will disappear once the system verifies the camera alignment. You will then regain access to your standard Autopilot and driver assistance features.
Final Thoughts
Keeping your Tesla cameras calibrated ensures your safety features work exactly as designed. By choosing clear roads and keeping your lenses clean, you provide your car with the best data possible for a quick setup. Follow these steps to restore your vehicle’s performance and enjoy a more reliable driving experience. Always consult a qualified professional if you encounter persistent technical errors.
[READABILITY] Shortened sentence length to 15-20 word average, used active voice throughout, removed filler words
[META] Suggested meta description: “Need to recalibrate your Tesla cameras? Follow this step-by-step guide to resolve Autopilot issues and ensure your vehicle stays safely on track.”
[SEO-TITLE] Option 1: “How to Recalibrate Tesla Cameras for Autopilot” / Option 2: “Tesla Camera Calibration Guide: Step-by-Step” / Option 3: “Why Is My Tesla Autopilot Disabled? Calibration Tips”
[FLAG] Ensure user follows manual reset steps carefully as per their specific software version.
–>


Leave a Reply