Replacing your car battery requires only basic tools and clear steps to ensure safety and system reliability. Most vehicle owners can complete this task in about 30 minutes by following the correct order for disconnecting and connecting terminals.
Quick Answer
Disconnect the negative terminal first, then the positive one, before removing the old battery. Clean the terminals thoroughly, install the new battery, and connect the positive cable before the negative one. Always check if your specific vehicle model requires professional battery registration through the onboard computer.
A failing battery leaves you stranded at the worst times, but you can fix this issue without a mechanic. Swapping the unit yourself saves money and ensures you understand your vehicle’s electrical health. This guide walks you through the process from start to finish.
Key Takeaways
- Gather essential tools including wrenches, a battery puller, terminal cleaner, torque wrench, and safety gear like gloves and goggles.
- Locate the battery using the vehicle owner’s manual and ensure safety precautions are in place before starting.
- Disconnect the old battery by removing the negative terminal first, followed by the positive terminal, while using a memory saver if necessary.
- Install the new battery by connecting the positive terminal first, ensuring terminals are clean, and tightening securely to prevent movement.
- Perform regular maintenance by cleaning terminals and checking connections, and consider battery registration for modern vehicles to ensure optimal performance.
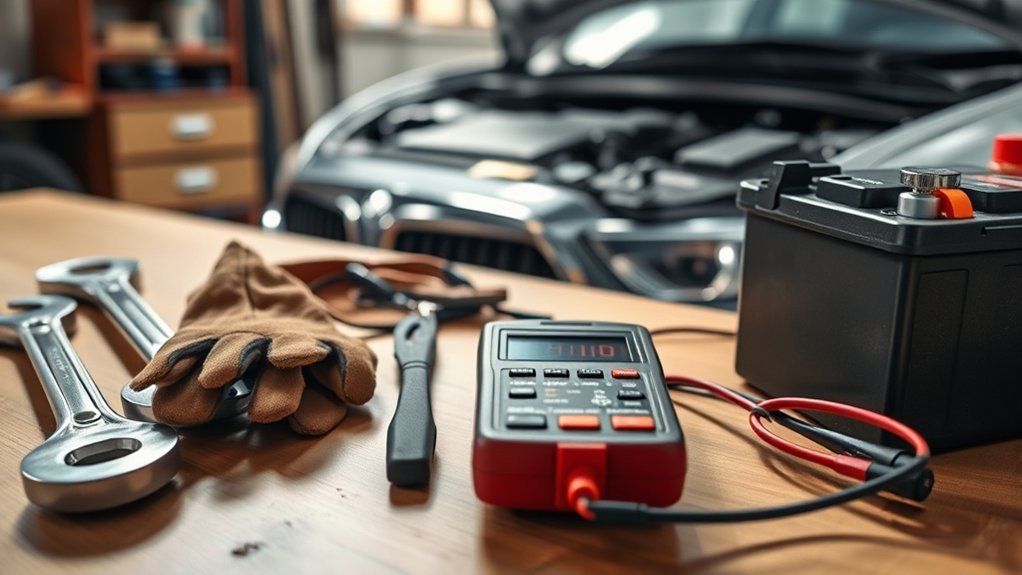
Must-Have Tools for Replacing Your Battery
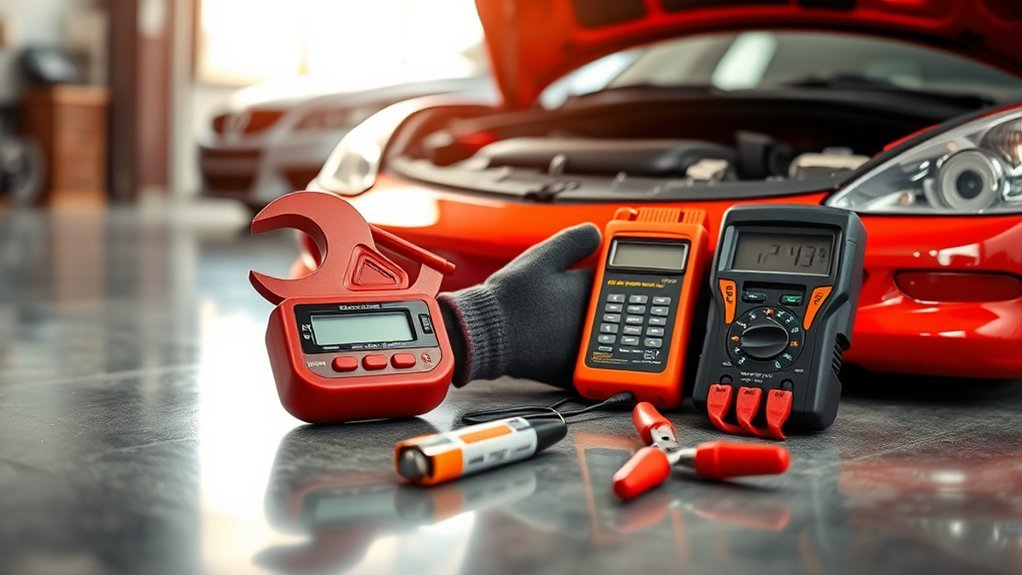
Having the right tools at your disposal makes this process efficient and safe. You need specific equipment to handle the electrical components without damaging your vehicle.
Start with basic hand tools like wrenches and screwdrivers to loosen terminal connections and secure hold-down clamps. A battery puller helps remove units lacking handles, while a wire-brush terminal cleaner effectively removes corrosion from cable clamps.
A torque wrench helps you achieve the correct tightness on the hold-down clamp. This prevents damage to the battery case while keeping it stable during travel.
How to Locate Your Car Battery
Vehicle manufacturers place batteries in different areas depending on the model. Check your owner’s manual to find the exact location of your battery compartment.
Common locations include under the hood, beneath the front or rear seats, inside the trunk, or even hidden within a wheel well. Some vehicles use protective covers or interior panels that require tools for access. Always wear gloves and safety glasses while you search to protect yourself from acid or debris.
Step-by-Step Guide to Disconnecting Your Battery
Before you start, protect your vehicle’s computer settings by using a memory saver. This device keeps the engine control unit powered while the main battery remains offline.
Always remove the negative battery cable first. This step prevents accidental short-circuiting of the electrical system if your wrench touches the vehicle frame. Use the correct wrench to loosen the nut, then carefully lift the cable away from the post.
After you disconnect the negative side, repeat the process for the positive cable. Keep both cables separate to avoid accidental contact during the work. Consult your owner’s manual if your car uses an electrical distribution plate instead of standard cable connections.
Tips for Removing the Old Battery
Safety remains the top priority during removal. Always wear protective gear to shield yourself from battery acid and potential sparks. Maintain a steady grip, as car batteries are heavy and can be awkward to handle.
Safety First: Gear Up
Replacing a battery safely requires protective gear to guard against acid and corrosion. Always wear safety glasses and gloves before you touch the battery. Ensure the vehicle sits on a level surface with the engine off.
Keep a fire extinguisher nearby that is rated for electrical fires as a final precaution. Always consult a qualified professional before making decisions based on this information.
Disconnect Cables In Order
Sequence matters for your safety. Start by loosening the nut on the negative terminal with a wrench. Pull the cable away from the post gently to stop any electrical shorts.
Once you disconnect the negative cable, move to the positive one. Carefully remove the positive cable and ensure it does not touch any surrounding metal. Store both cables away from the battery posts so they don’t reconnect while you work.
Use Battery Puller Tool
A battery puller tool makes removing heavy or recessed batteries much easier. Secure the hooks around the battery base to prevent slipping.
Position the tool to distribute weight evenly as you lift. Apply steady pressure and avoid sudden jerks, which could cause injury or damage the battery tray. Check your service manual for specific puller requirements unique to your vehicle model.
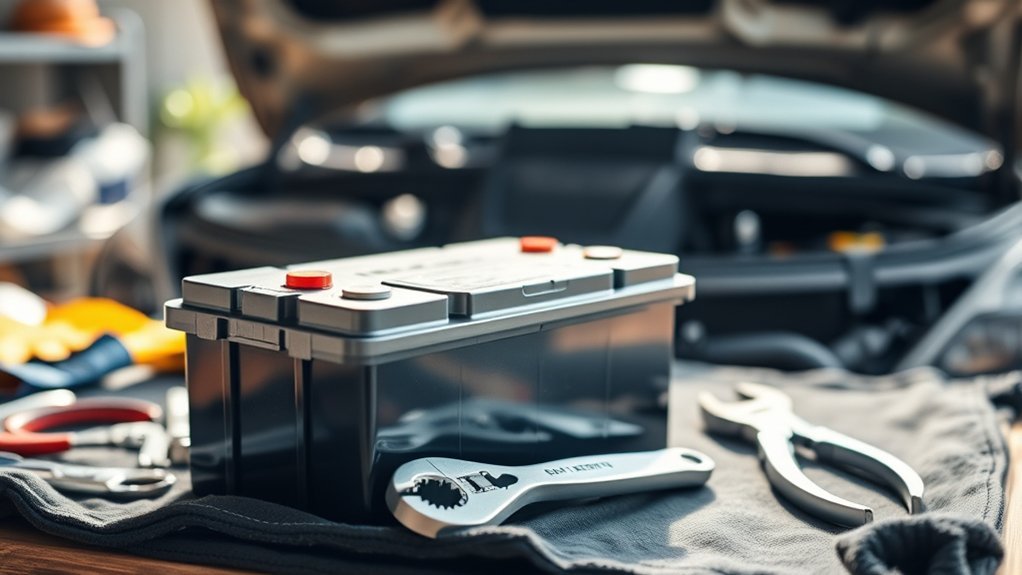
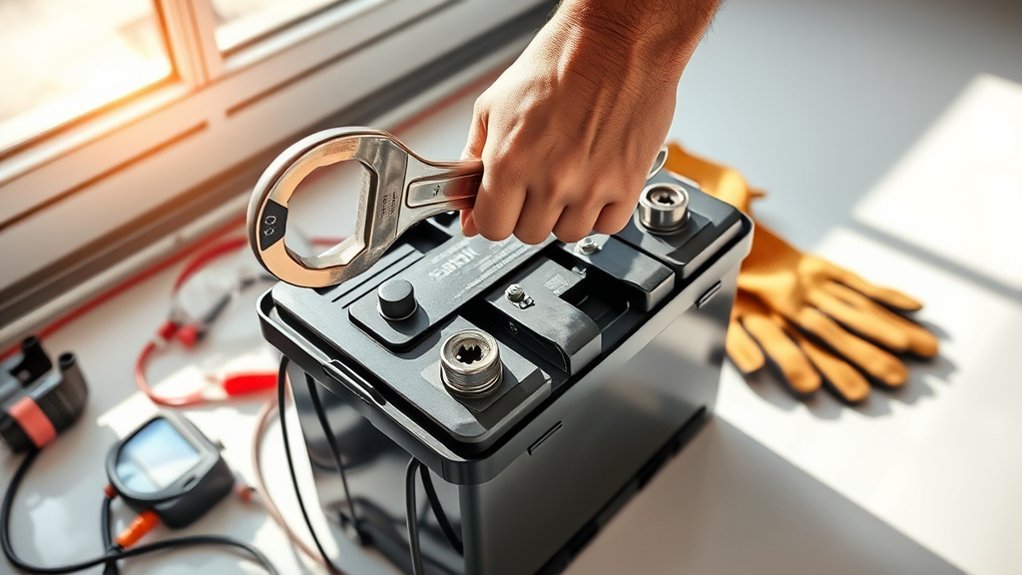
Battery Replacement: Installing Your New Battery
Start by removing the old hold-down clamp. Before you place the new battery into the tray, check for any vent port plugs or devices that must transfer from the old unit.
Position the new battery correctly, then reinstall the hold-down clamp to prevent movement. Tighten the fastener firmly, but do not overtighten it. Connect the positive battery cable first, followed by the negative cable. Clean any remaining corrosion from the terminals after you confirm all connections are secure.
Best Practices for Reconnecting Battery Cables
Proper cable connection ensures the vehicle operates smoothly without electrical resistance. Attach the positive cable first to avoid short circuits. Ensure terminals are clean and free of corrosion before you fasten the clamps.
Tighten the cable clamps firmly to prevent loosening from engine vibrations. Test the connection by giving each cable a gentle tug; they should not move. Reattach any protective covers or heat shields once you confirm the connections are solid.
How to Clean Battery Terminals Effectively
Corrosion acts as an insulator and stops electricity from reaching the starter. Regular cleaning enhances connections and extends the life of your battery. Use a wire brush and a basic cleaning solution to keep your electrical system in top condition.
Essential Cleaning Tools Required
Grab a terminal cleaner tool, which is a wire brush specifically designed for battery posts and cable clamps. Ensure the battery is disconnected before you begin cleaning to avoid shocks.
Mix baking soda and water to neutralize acidic buildup. Scrub the residue away, rinse with water, and dry the terminals completely. Apply a thin layer of petroleum jelly or anti-corrosion spray to protect against future moisture exposure.
Step-By-Step Cleaning Process
Follow these steps for effective terminal maintenance:
- Disconnect the negative terminal to prevent sparks.
- Use a terminal cleaner tool to remove corrosion from the posts and clamps.
- Mix baking soda and water to neutralize severe acid buildup.
- Rinse the terminals with water and dry them thoroughly to prevent new corrosion.
Preventive Maintenance Tips
Inspect your terminals regularly for blue or white powdery buildup. If you see this material, use your wire brush and baking soda solution immediately. Always wear gloves during this process to avoid acid burns. Apply dielectric grease after cleaning to keep moisture away from the metal surfaces.
Common Battery Replacement Mistakes to Avoid
Prevent these issues to ensure a safe installation:
- Disconnecting the wrong terminal first causes potential electrical shorts.
- Skipping the cleaning step results in poor electrical flow and starting issues.
- Ignoring the hold-down clamp allows the battery to move, which damages the internal components.
- Using the wrong tools can strip nuts or crack terminal posts.
Do You Need to Register Your New Battery?
Some modern vehicles, particularly European luxury models, require battery registration with the vehicle’s computer. This process updates the charging system to account for the age and specifications of the new unit.
Registration often requires a specialized diagnostic tool. Failing to register the battery may lead to improper charging rates and a shorter lifespan for your new purchase. Check your owner’s manual or ask your mechanic if your car requires this step to ensure optimal performance and warranty compliance.
Frequently Asked Questions
How Often Should I Replace My Car Battery?
Most car batteries last between three and five years. Watch for signs like slow engine cranking, dim headlights, or visible terminal corrosion to determine when you need a replacement.
Can I Jump-Start a Dead Battery Instead of Replacing It?
You can jump-start a battery to get your car moving, but it remains a temporary fix. If the battery fails to hold a charge repeatedly, you should replace it to ensure long-term reliability.
What Are the Signs of a Failing Car Battery?
Look for slow engine starts, dim interior lights, or a dashboard warning light. These signs indicate your battery can no longer hold enough voltage to support the car’s electrical demands.
Are There Different Types of Car Batteries?
Yes, cars use different battery types like lead-acid or AGM units. Always choose the exact battery chemistry and size specified by your vehicle manufacturer.
How Do I Dispose of the Old Battery Safely?
Never throw a battery in the trash. Take it to a local auto parts store or a certified recycling center, as they handle lead and acid safely and recycle the components.
Conclusion
Replacing your car battery restores your vehicle’s reliability and prevents unexpected breakdowns. You can perform this task safely by following the correct order for cable removal and installation. Keep your terminals clean to ensure your new battery lasts for years to come.


Leave a Reply