You grip the steering wheel tight because you cannot easily see the dark road ahead. Dim headlights turn a normal night drive into a dangerous guessing game. The sun degrades plastic headlight lenses over time, leaving them yellow and hazy. You can fix this exact problem in your driveway using simple tools and basic household supplies.
Quick Answer
To clean cloudy headlights, wash the lenses with soap and water, then scrub them with a paste of baking soda and vinegar or whitening toothpaste. Wet-sand the plastic using 800- to 2000-grit sandpaper for heavy yellowing. Always finish by applying a clear UV sealant to protect the lenses and stop the haze from returning.
Key Takeaways
- Wash lenses with soap and water to remove surface dirt before you start.
- Mix two tablespoons of baking soda and one tablespoon of white vinegar for a quick cleaning paste.
- Scrub the lenses with non-gel whitening toothpaste and a damp cloth for five to ten minutes.
- Wet-sand heavy oxidation using 800-, 1000-, and 2000-grit sandpaper.
- Spray a clear UV sealant on the finished lenses to block future sun damage.
What Causes Cloudy Headlights?
Sun exposure causes most headlight damage. Ultraviolet rays break down the protective factory coating on the plastic over time. This process causes oxidation, leaving a dull and hazy film on the surface.
Road debris and harsh weather scratch the plastic. These micro-scratches speed up the decay. Heavy cloudiness can drop your light output by up to 80 percent. Dim lights severely lower your visibility at night and increase your crash risk.
Research from the American Automobile Association Foundation for Traffic Safety shows that clouded headlights reduce light output by up to 80 percent, greatly increasing your risk of nighttime accidents.
Moisture trapped inside the lens points to a completely different problem. Broken housing seals let water enter the light assembly. You must replace the entire unit if you see water pooling inside.
Regular cleaning stops mild haze from getting worse. Applying a fresh clear coat protects the plastic from future sun damage. These simple steps keep you and your family safe on the road.
What You Need to Clean Headlights
You need a few basic supplies to restore your headlights. You can find most of these everyday items in your kitchen or bathroom. Baking soda, white vinegar, and non-gel toothpaste handle mild oxidation very well.
You might want a dedicated restoration kit for heavily yellowed lenses. These complete kits provide all the sandpaper and chemicals you need in one box. Having the right tools guarantees a crystal clear finish.
Household Cleaning Supplies
You do not need expensive chemicals to clear light haze. Wash the plastic with basic car soap and water first. Mix two tablespoons of baking soda and one tablespoon of white vinegar to make an abrasive paste.
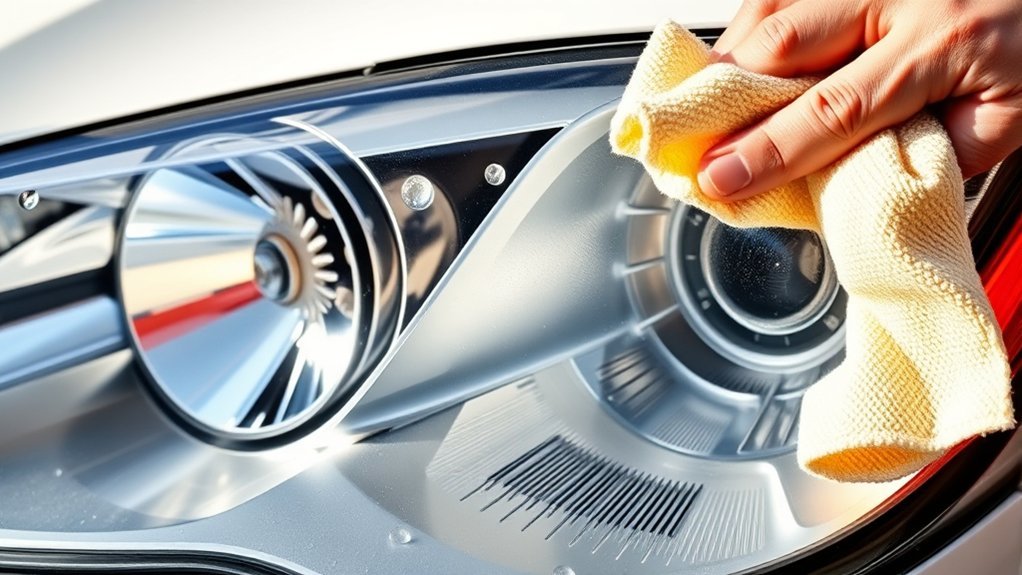
Rub this thick paste onto the plastic using a microfiber cloth. Scrub the surface firmly until the yellow tint fades. Whitening toothpaste also works well for mild haze.
Squeeze toothpaste onto a wet rag and scrub the lens in tight circles for five to ten minutes. Always finish by wiping the area clean with water. You must spray a UV sealant over the clean plastic. The sealant stops the sun from turning the lenses yellow again.
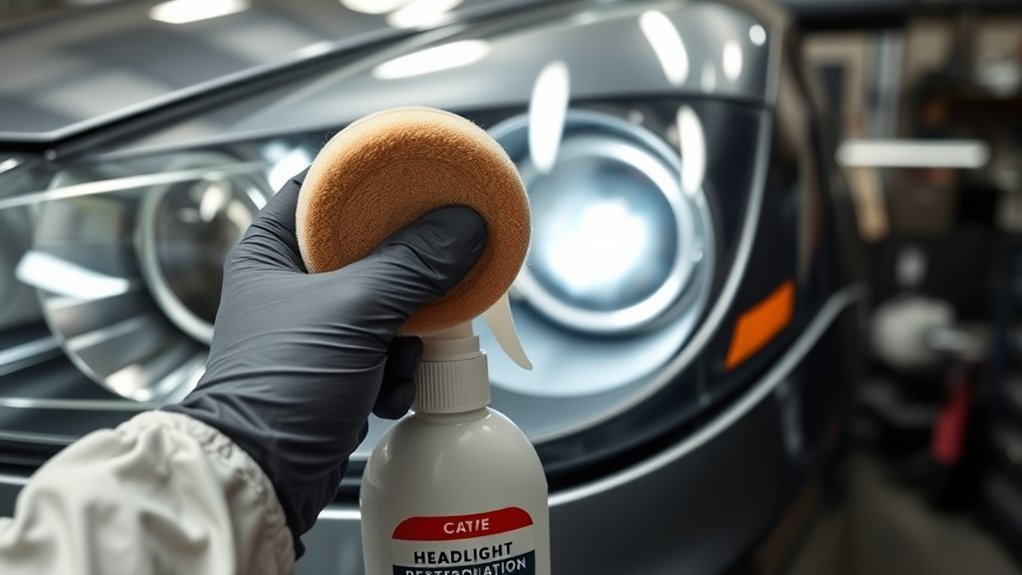
Best Headlight Restoration Kits
Retail kits give you professional results right in your driveway. Top brands include sanding discs, polishing compounds, and clear coat wipes. These kits provide simple instructions to help you avoid costly mistakes.
| Kit Name | Key Features | Expected Lifespan |
|---|---|---|
| 3M Ultra Headlight Restoration | Sanding discs, polish, clear coat wipes | 1 to 3 years |
| Sylvania Headlight Restoration | Drill attachment, UV block liquid | 1 year |
| Meguiar’s Headlight Correction | Polish pad, clear coat spray | 1 to 2 years |
| Turtle Wax Headlight Renew | Polishing pad, lens base coat | 6 months |
Buy a kit that includes a dedicated UV clear coat. Standard polishes wash off after a few weeks.
How to Restore Headlights at Home
Restoring your lenses takes about one hour. Gather your supplies before you begin the work. You need automotive soap, heavy painter’s tape, a spray bottle of water, and fine sandpaper.
Follow a careful process to get the best possible results. Rushing the sanding steps leaves deep scratches in the plastic.
Preparing Your Workspace
Start by parking your car in the shade to keep the lenses cool. Wash the plastic with soapy water to remove loose grit. Dry the area completely with a soft microfiber towel.
Apply heavy painter’s tape around the edges of the headlight. This tape protects your car paint from accidental sanding damage. Cover the hood and fenders with plastic drop cloths if you plan to spray a clear coat later.
Cleaning and Sanding the Lenses
Rub your toothpaste or baking soda paste over the lens for mild haze. Wipe the lens clean and carefully check your work. Move to wet-sanding if the plastic still looks dull or cloudy.
Spray the lens and an 800-grit sandpaper sheet with water. Sand the plastic in straight horizontal lines for five minutes. Keep the surface completely wet the entire time.
Switch to 1000-grit paper and sand in vertical lines. Finish with 2000-grit paper using horizontal strokes again. Dry the lens completely before adding your final protection layer.
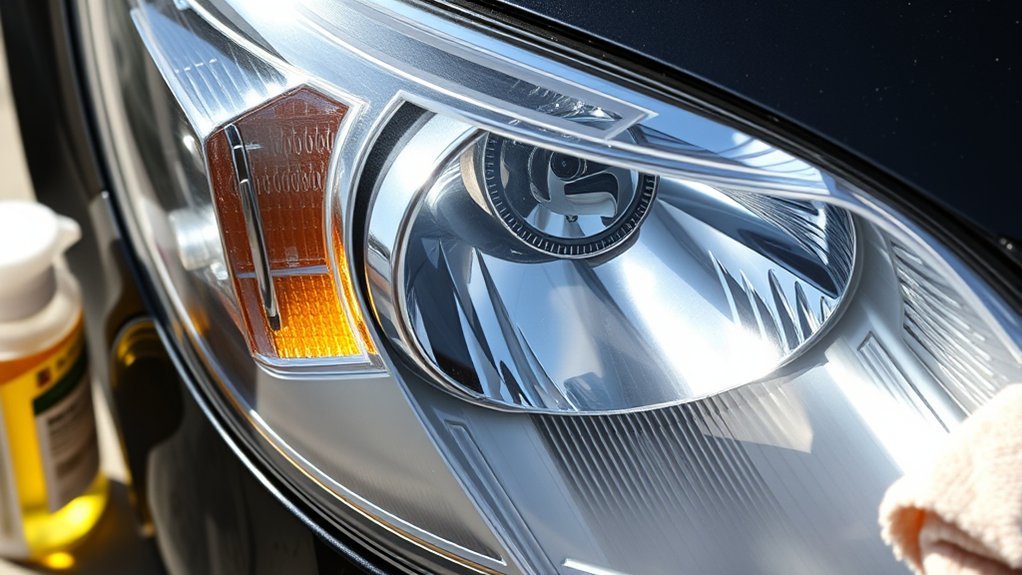
Applying the UV Clear Coat
Dry the plastic completely with a clean towel to prep for the clear coat. Shake the clear coat spray can and hold it six inches from the lens.
Spray the liquid coating in light, overlapping sweeps to prevent ugly drips. Let the first coat dry for five minutes before applying a second layer. Allow the final finish to cure fully before driving.
Common Headlight Restoration Mistakes
Many drivers ruin their headlights by making simple errors. Avoid these common traps when working on your car to ensure a clear and lasting finish.
| Mistake | Result |
|---|---|
| Skipping painter’s tape | Permanent scratches on your car paint |
| Starting with rough sandpaper | Deep lens gouges you cannot polish out |
| Dry-sanding the plastic | Melted plastic and heavy scratching |
| Skipping the UV clear coat | Fast yellowing within a few weeks |
| Spraying clear coat in direct sunlight | Bubbling and peeling finish |
What to Do When DIY Cleaning Fails
Some headlights suffer too much damage for simple polishing. Pour clean water over your washed lens to check its actual condition. The damage sits inside the housing if the wet plastic still looks cloudy.
You cannot fix internal cloudiness with surface polishing. Factory replacement parts usually last much longer than cheap aftermarket options.
Factory-original replacements often provide better beam focus and last twice as long as budget aftermarket housings.
Deep cracks and heavy moisture buildup require a total replacement. Sanding only removes surface damage on the outside layer. Professional mechanics can test your electrical connections and install new units properly. Always consult a qualified professional before making decisions based on this information.
When to Replace Your Headlights
Replacing the entire headlight housing costs more but guarantees a perfect result. Buying new units makes sense when the internal reflectors burn out or the seals fail.
Professional auto body shops can perform heavy-duty sanding if you lack the right tools. These shops use machine polishers and automotive-grade clear coats to restore the plastic. They back their work with strict warranties that protect your investment.
Check your local junkyard for good condition used factory headlights to save money. Compare the cost of a professional polish against the price of brand-new parts. Pick the option that fits your budget and keeps your family safe.
Frequently Asked Questions
Can Cloudy Headlights Be Restored?
Yes, you can easily restore most cloudy headlights at home. Sanding away the dead outer layer reveals fresh, clear plastic underneath. Applying a new clear coat keeps the lens clear for several years.
How Do You Remove Cloudy Film From Headlights?
Wash the lens with soap and water first. Scrub the plastic with a mix of baking soda and vinegar for mild film. Use fine-grit wet sandpaper to strip away heavy yellowing. Always seal the clean plastic to protect it from the harsh sun.
What Is a Simple Trick to Restore Foggy Headlights?
Whitening toothpaste offers the fastest quick fix. Squeeze toothpaste onto a wet rag and scrub the lens in circles for ten minutes. The mild abrasives strip away surface grime. This method only lasts a few weeks unless you apply a permanent clear coat.
Will Magic Eraser Remove Headlight Haze?
A melamine sponge removes mild haze from the plastic. But the sponge acts like 3000-grit sandpaper and strips away your factory UV coating. You must spray a new UV sealant on the lens after using one of these abrasive sponges.
How Long Does Headlight Restoration Last?
A proper headlight restoration lasts one to three years. The lifespan depends entirely on your final protective coating. Bare polished plastic will turn yellow again within two short months.
Wipes and sprays that contain active UV blockers provide the longest lasting protection. Parking your car in a closed garage or under a shade tree significantly extends the life of your fresh headlights.
Next Steps for Clearer Headlights
Clear headlights keep you safe and confident during every night drive. Start testing a small corner of your lens with whitening toothpaste today to see the immediate difference. Grab a full restoration kit to finish the job and enjoy a brighter view of the dark road ahead.


Leave a Reply